Now Reading: 25 Chic Minimalist Nail Art Designs for a Clean, Modern Look
-
01
25 Chic Minimalist Nail Art Designs for a Clean, Modern Look
I’ve always believed that less can truly be more—especially when it comes to nail art. While bold designs and loud colors have their place, there’s something about a clean, minimalist look that feels fresh, effortless, and undeniably stylish. If you’re like me and prefer a polished appearance without all the extra fuss, minimalist nail art might be exactly what you’re looking for.
Minimalist nails don’t demand attention—they earn it quietly. A single stripe, a small dot, or a touch of metallic polish can speak volumes. These simple designs are easy to create, quick to maintain, and match with just about anything in my wardrobe. They also give me space to experiment without the pressure of going over the top.
In this article, I’ll walk you through 25 of my favorite minimalist nail art designs that bring a clean, modern edge to your fingertips. Each design is easy to try at home, beginner-friendly, and perfect for anyone who wants a stylish look without the time-consuming process. Whether you prefer a classic nude base, subtle geometric shapes, or a touch of gold, you’ll find something here to inspire your next manicure.
Let’s get started and explore how simplicity can be your strongest style statement.
1. Classic French Tips

The French tip is a timeless style that gives nails a neat and elegant finish. I like how the contrast between the natural-looking base and the crisp white tip instantly makes nails look longer and cleaner. It works well on short or long nails and fits with any outfit, whether casual or formal. You can also slightly curve or straighten the tip line depending on your nail shape for a custom look.
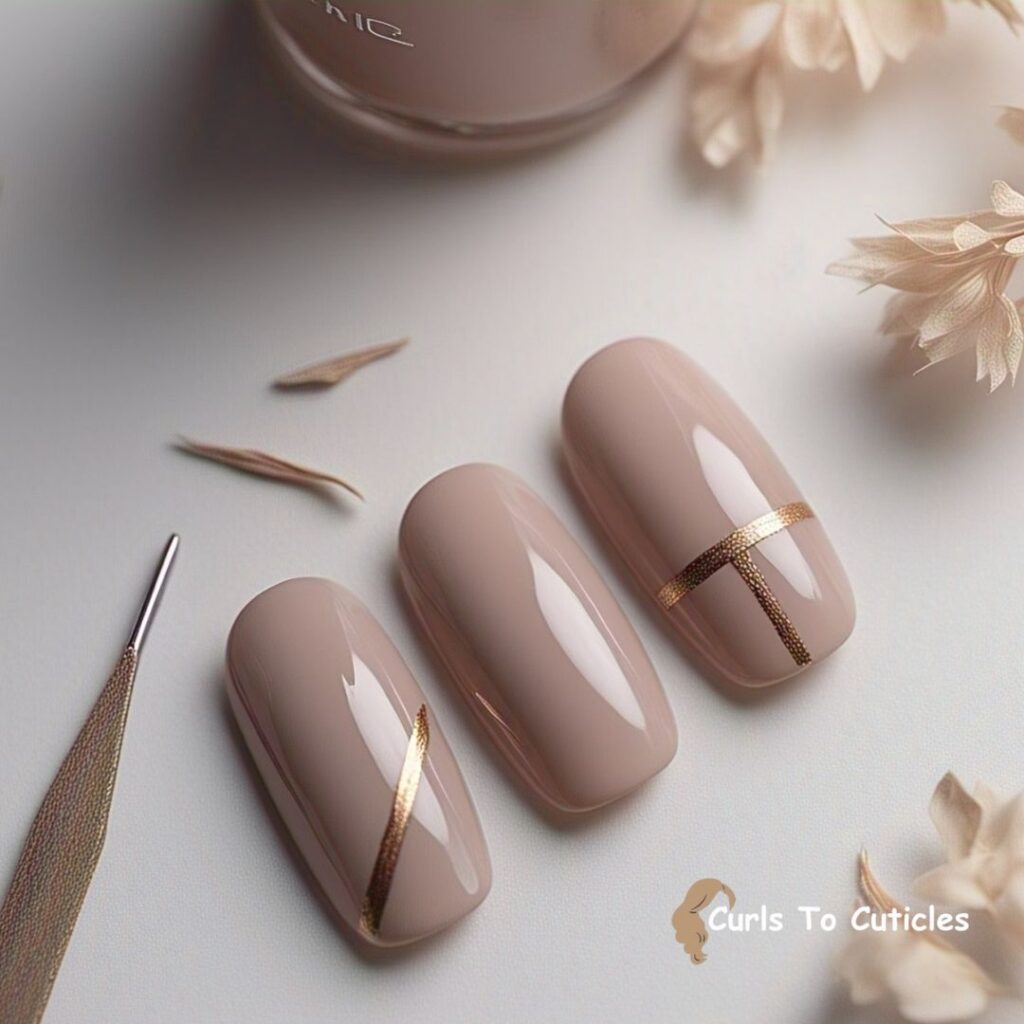
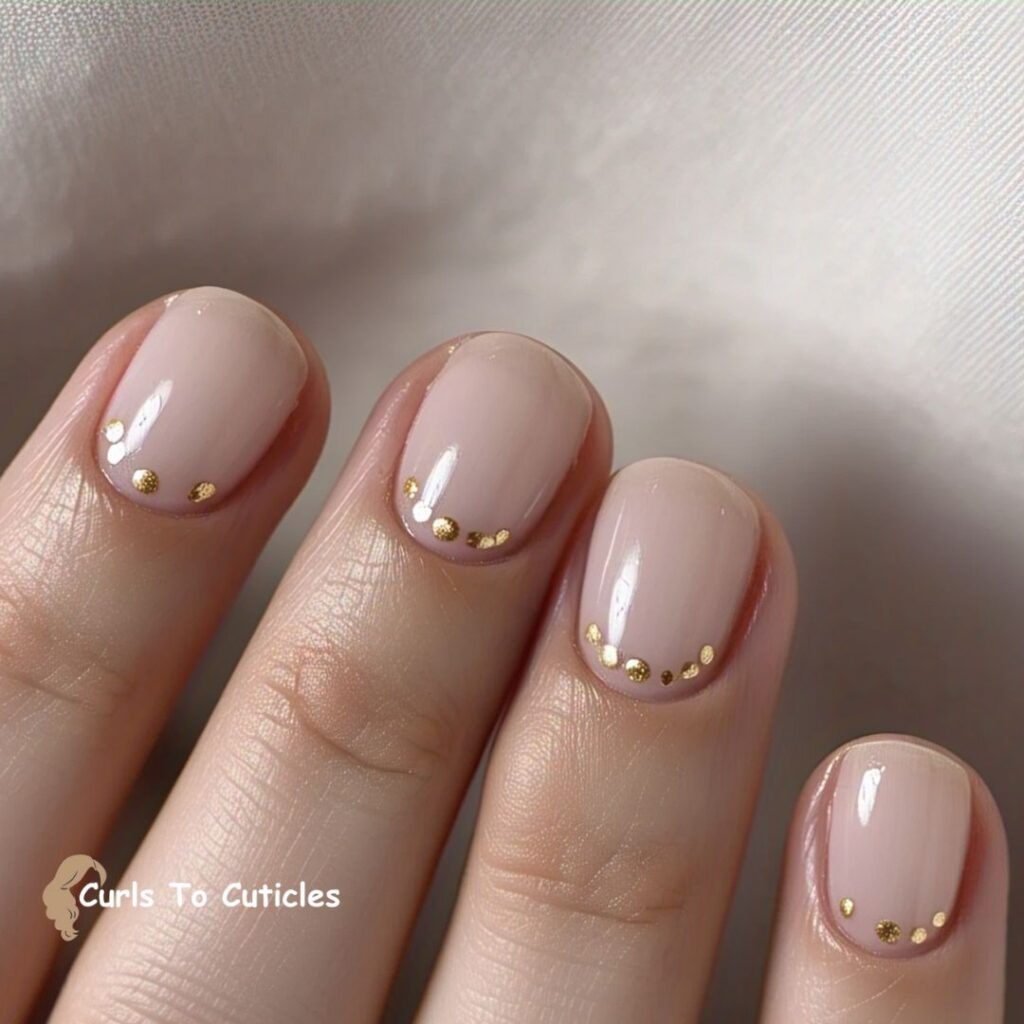
2. Nude Nails with Gold Accents
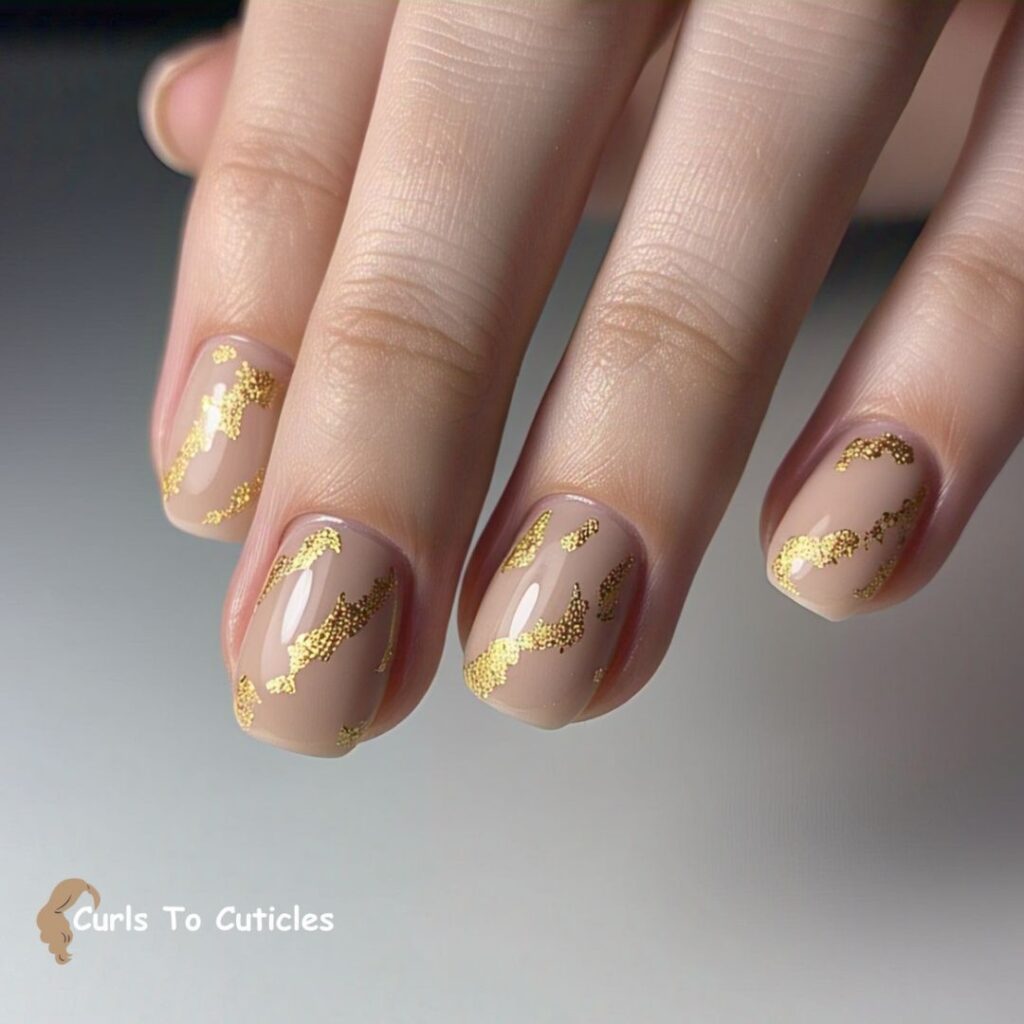
Nude polish offers a clean foundation that complements every skin tone. When I add small gold lines, dots, or foils, the look shifts from plain to polished in seconds. It feels sophisticated without being flashy. This style is also low-maintenance because chips are less visible, making it a smart pick for busy days or travel.
3. Negative Space Designs
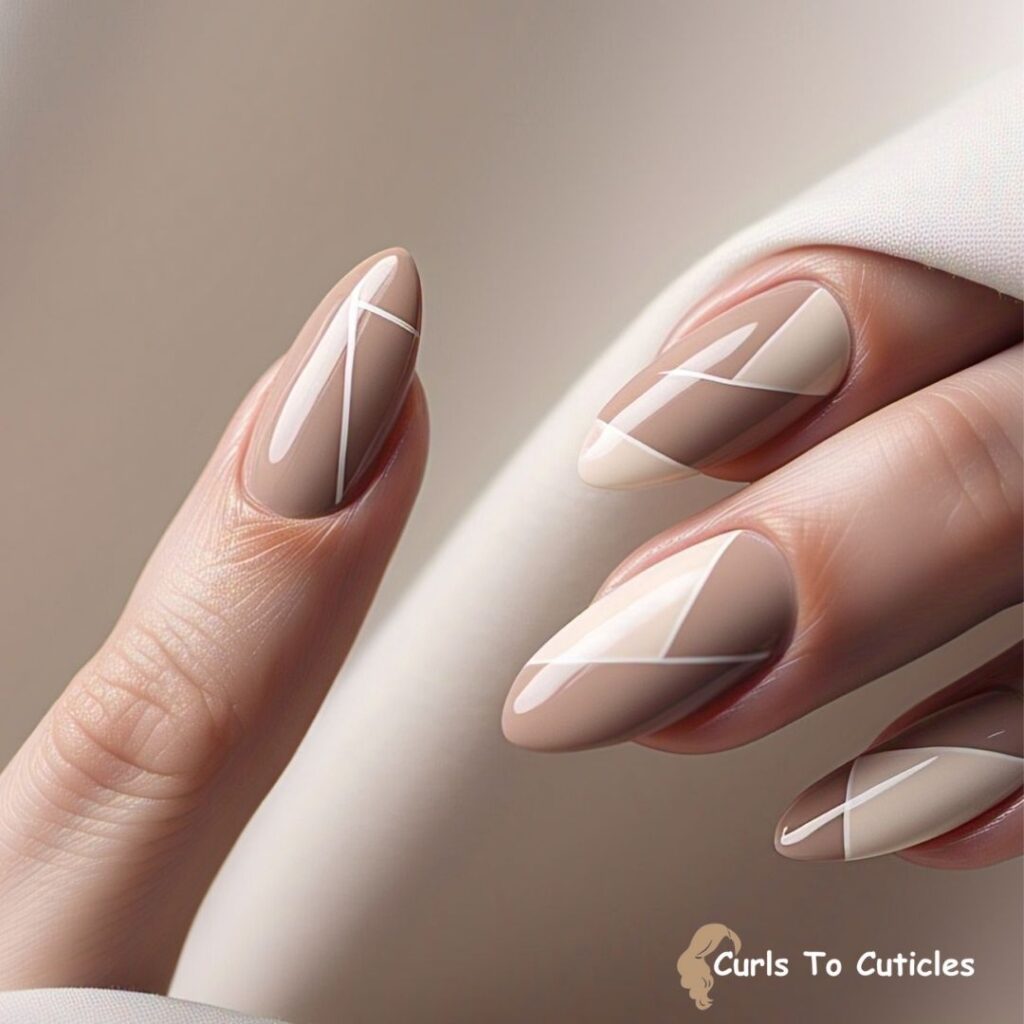
This design leaves parts of the nail unpainted to create contrast and shape. I usually apply tape or use a fine brush to mark off sections before painting. The clear areas highlight the painted parts, making them stand out more. It’s a simple way to play with shapes like triangles, chevrons, or diagonal lines while keeping the overall style light and modern.
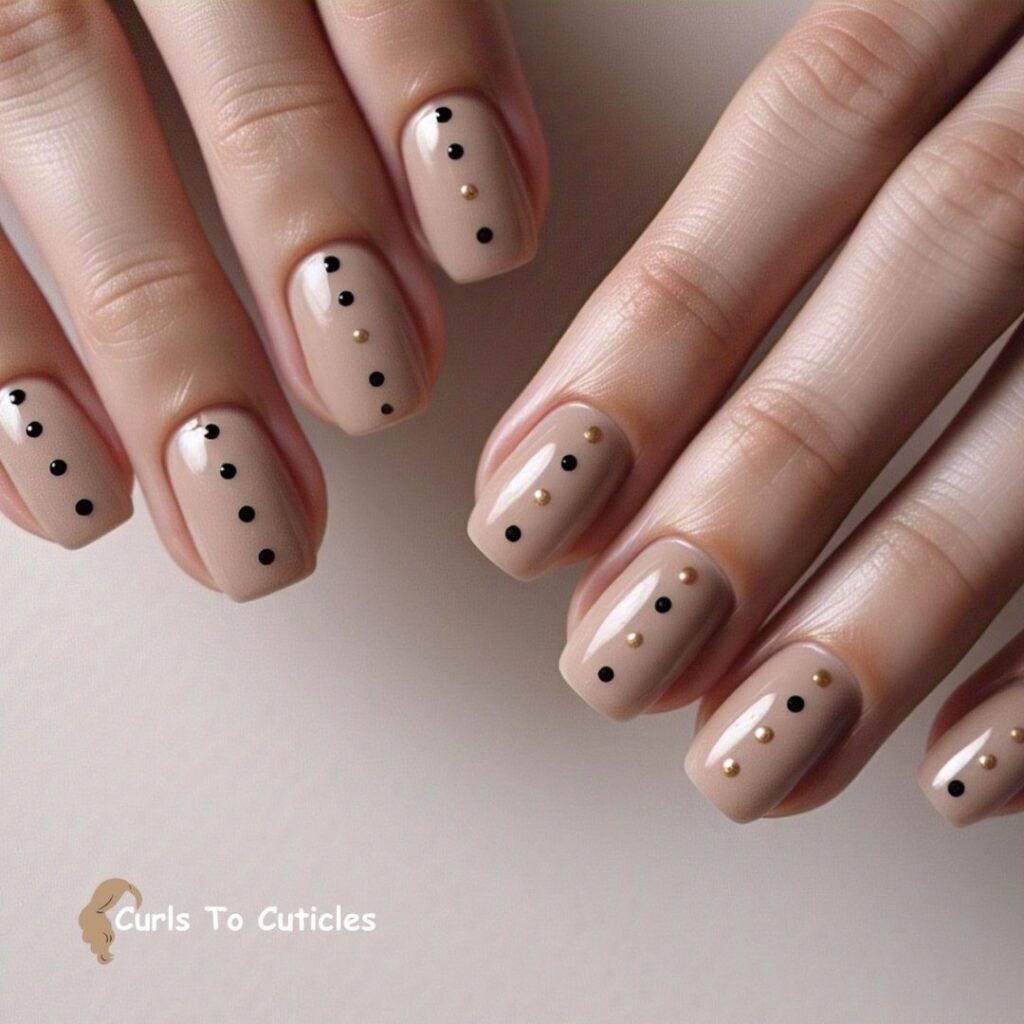
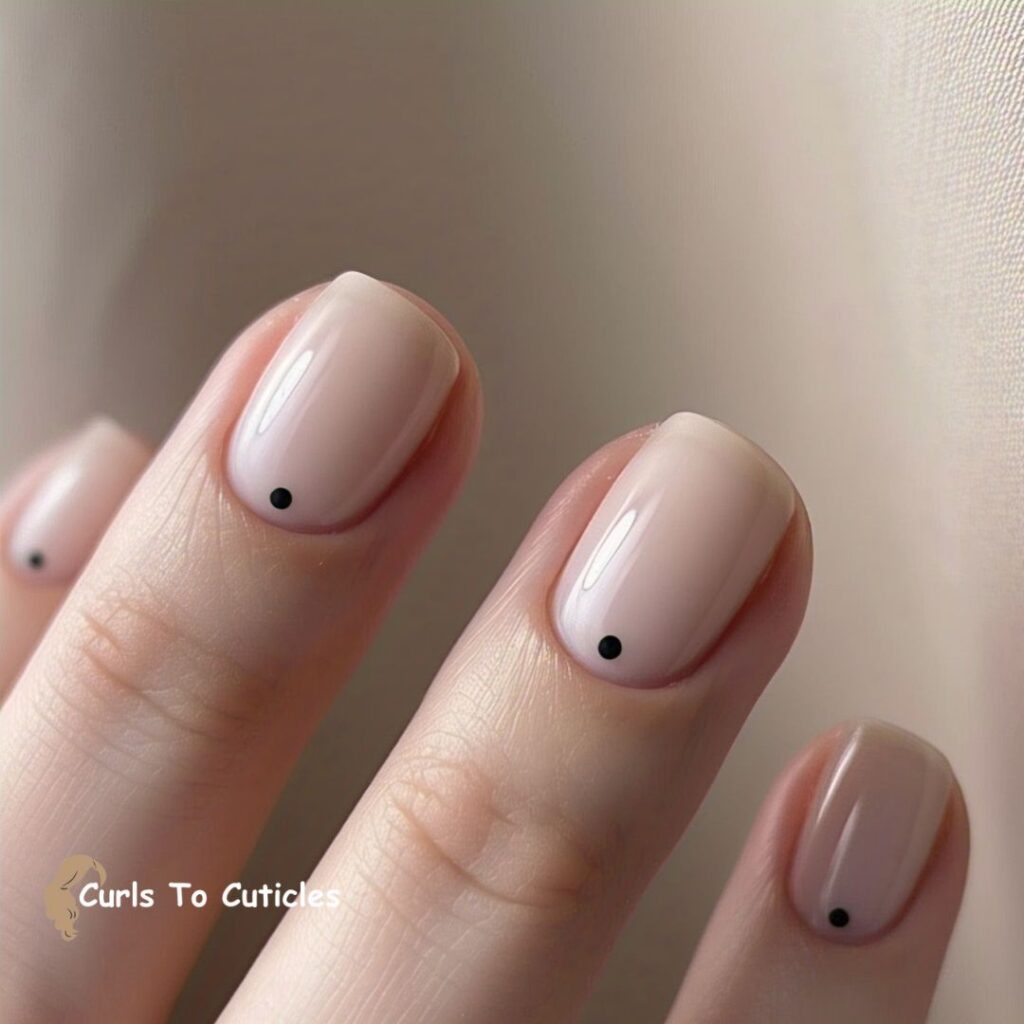
4. Single Dot Accent
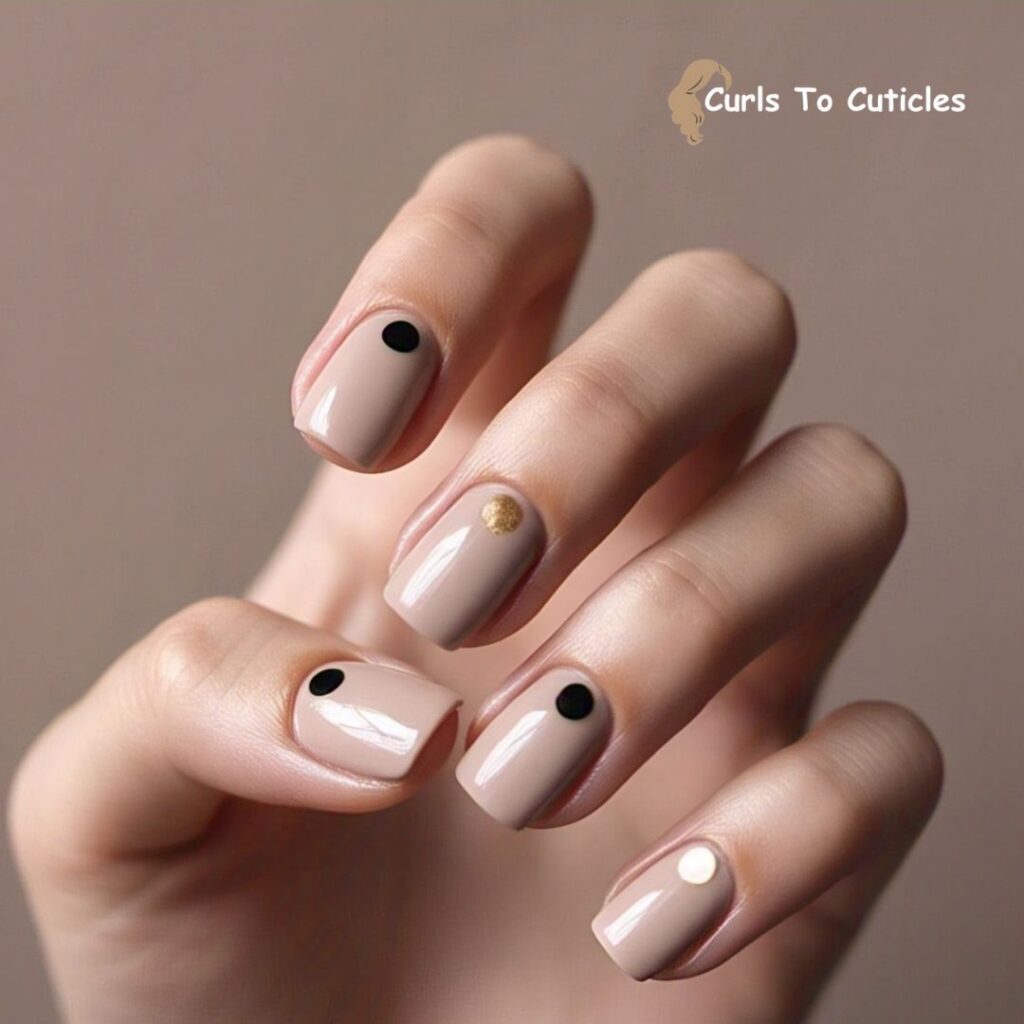
One small dot on each nail can make a big impact. It’s quick to apply and requires little skill or tools. I place the dot near the base, tip, or center depending on the look I want. Using a high-contrast color like black on a pale base or gold on a matte background makes the dot more visible and stylish. It’s perfect for days when I want something effortless but eye-catching.
5. Thin Stripes
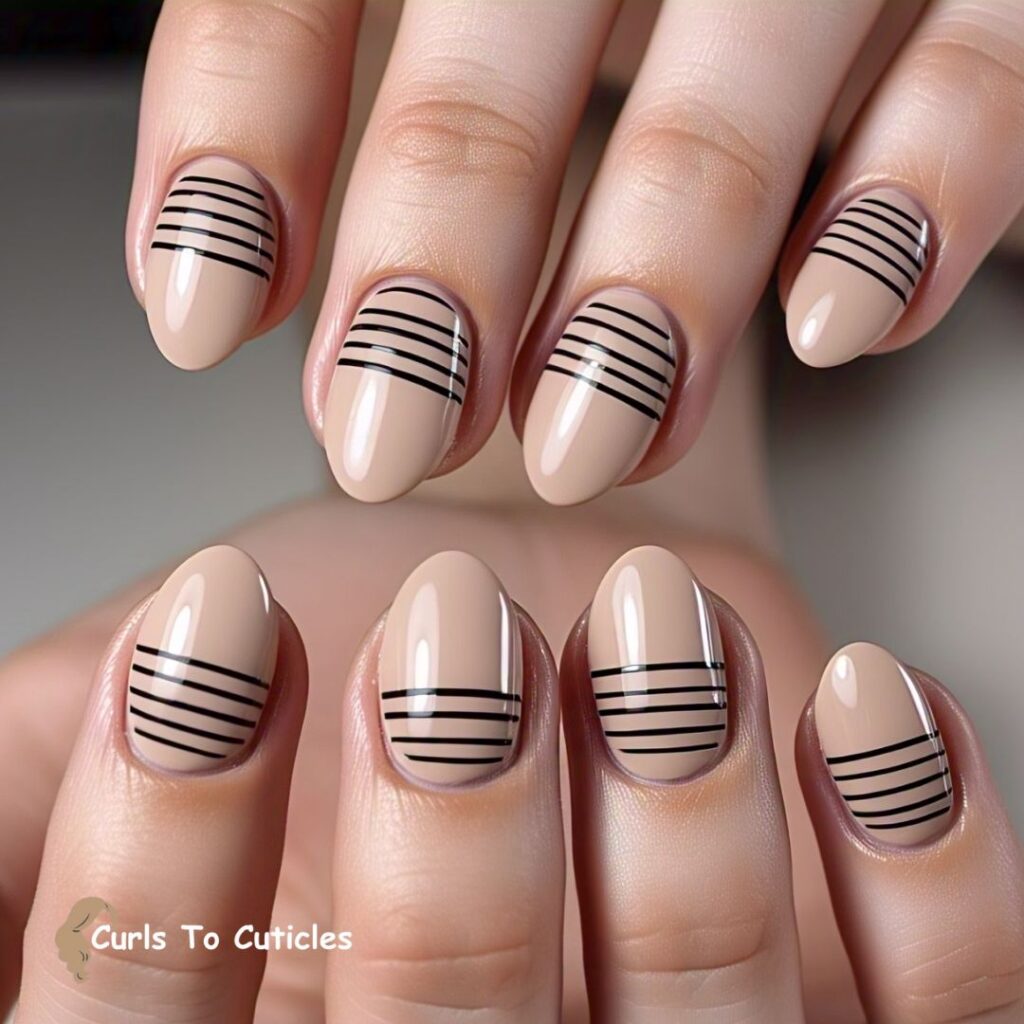
Thin stripes add structure without making nails look busy. I prefer vertical stripes when I want to make my nails look longer and horizontal ones to make them seem wider. A steady hand or a striping tool helps keep the lines clean. These stripes can be painted in soft shades for a subtle effect or bold colors for a sharper contrast. It’s one of my go-to styles for a quick, put-together look.
6. Matte Finish
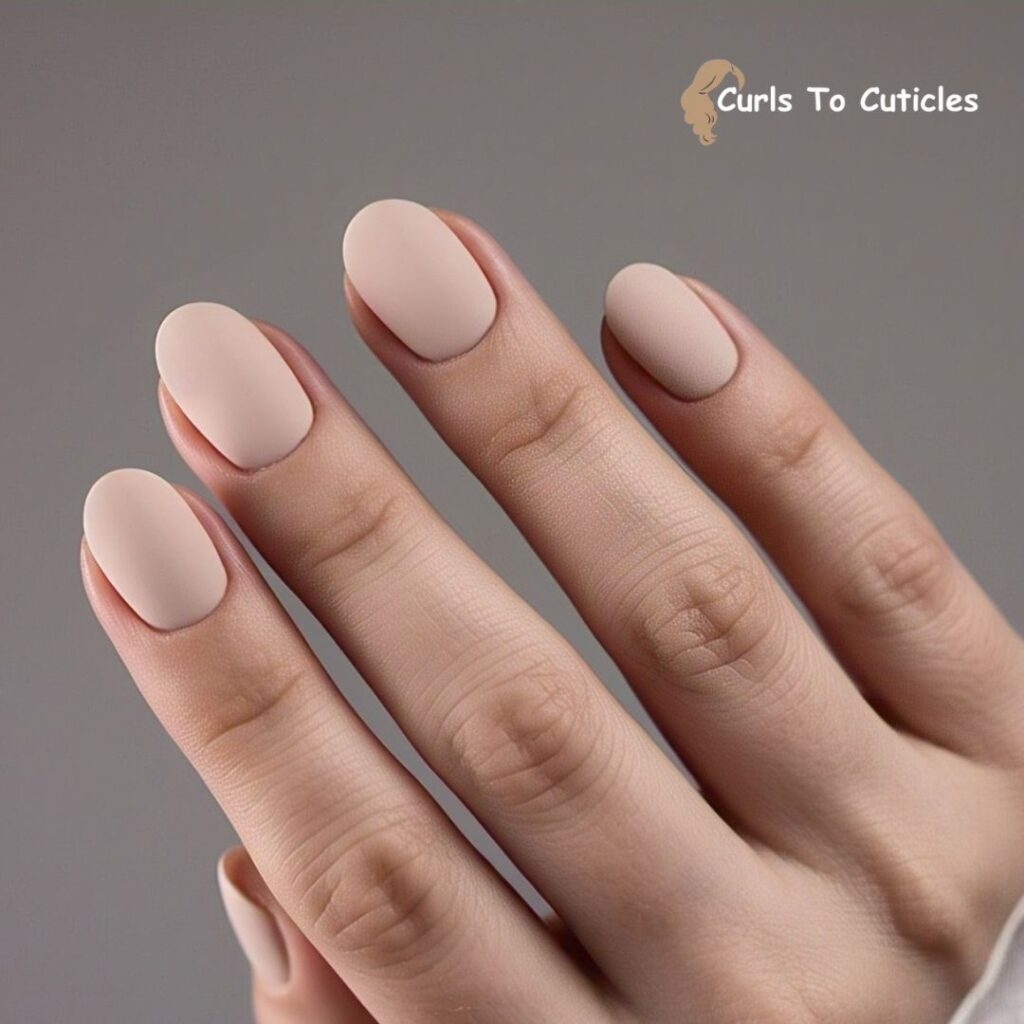
Switching from a glossy to a matte topcoat changes the texture and tone of the nails. A matte finish reduces shine, making the color appear deeper and more muted. I often use matte for neutral shades like taupe, beige, or black because it enhances their understated elegance. This type of finish also hides minor imperfections better than glossy polish.
7. Monochrome Nails
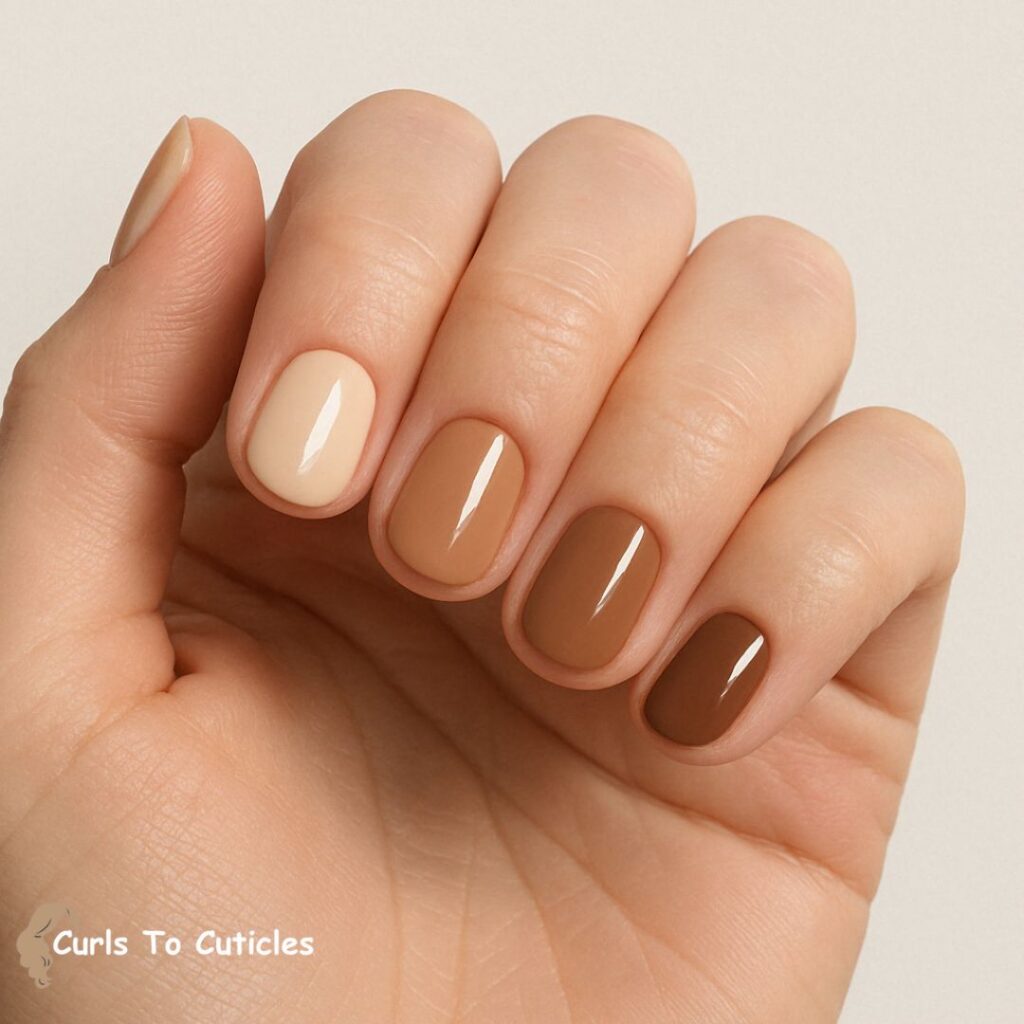
Monochrome nails use different shades of a single color across all ten fingers. For example, I might start with a pale pink on one nail and gradually darken the shade toward a deep rose on the other hand. This approach keeps the nails looking unified while still adding visual interest. It’s a simple way to create variety without mixing multiple colors.
8. Minimalist Geometric Shapes
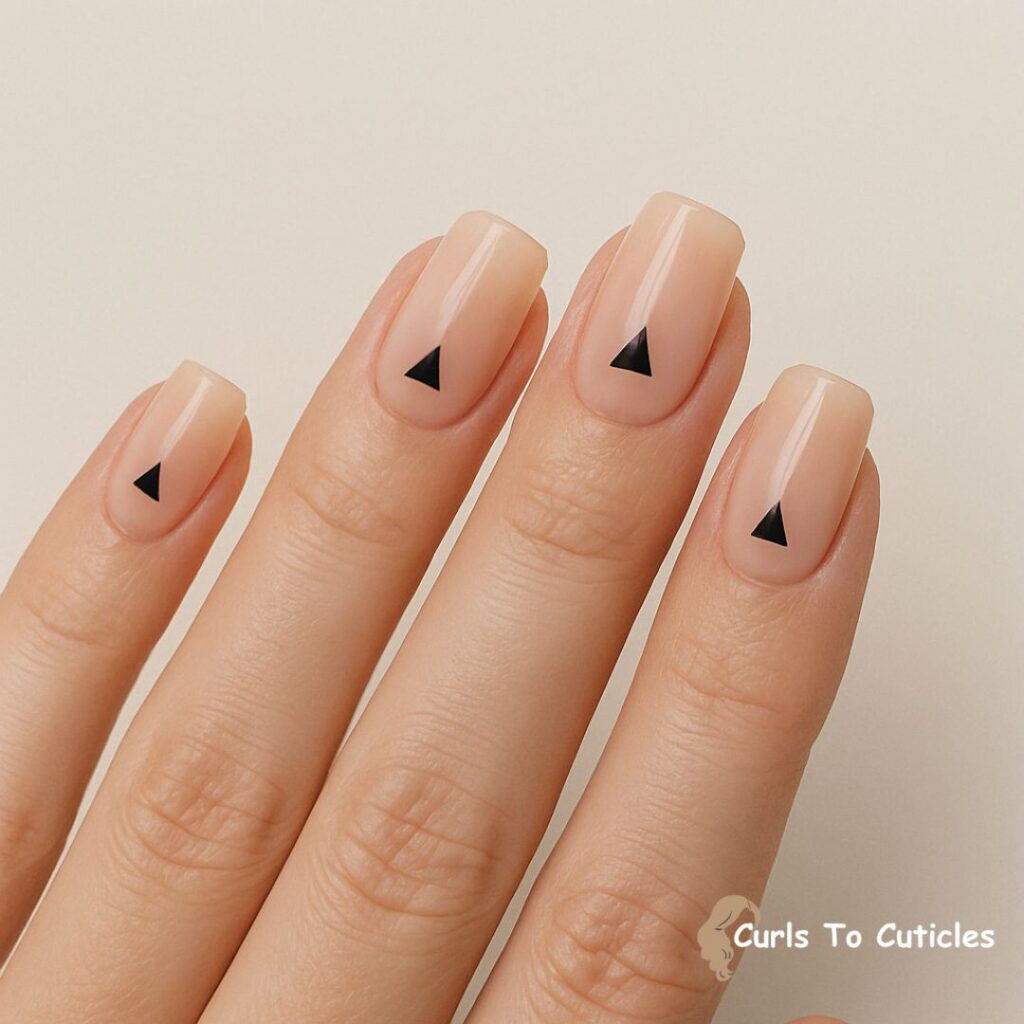
Geometric shapes bring structure and balance to nail designs. I like to add one small triangle at the base of the nail or a thin square near the tip. These elements create a modern and edgy look. To apply them cleanly, I use thin nail tape or a detail brush. The shapes are small, so they don’t distract but still catch the eye.
9. Clear Base with Metallic Tips
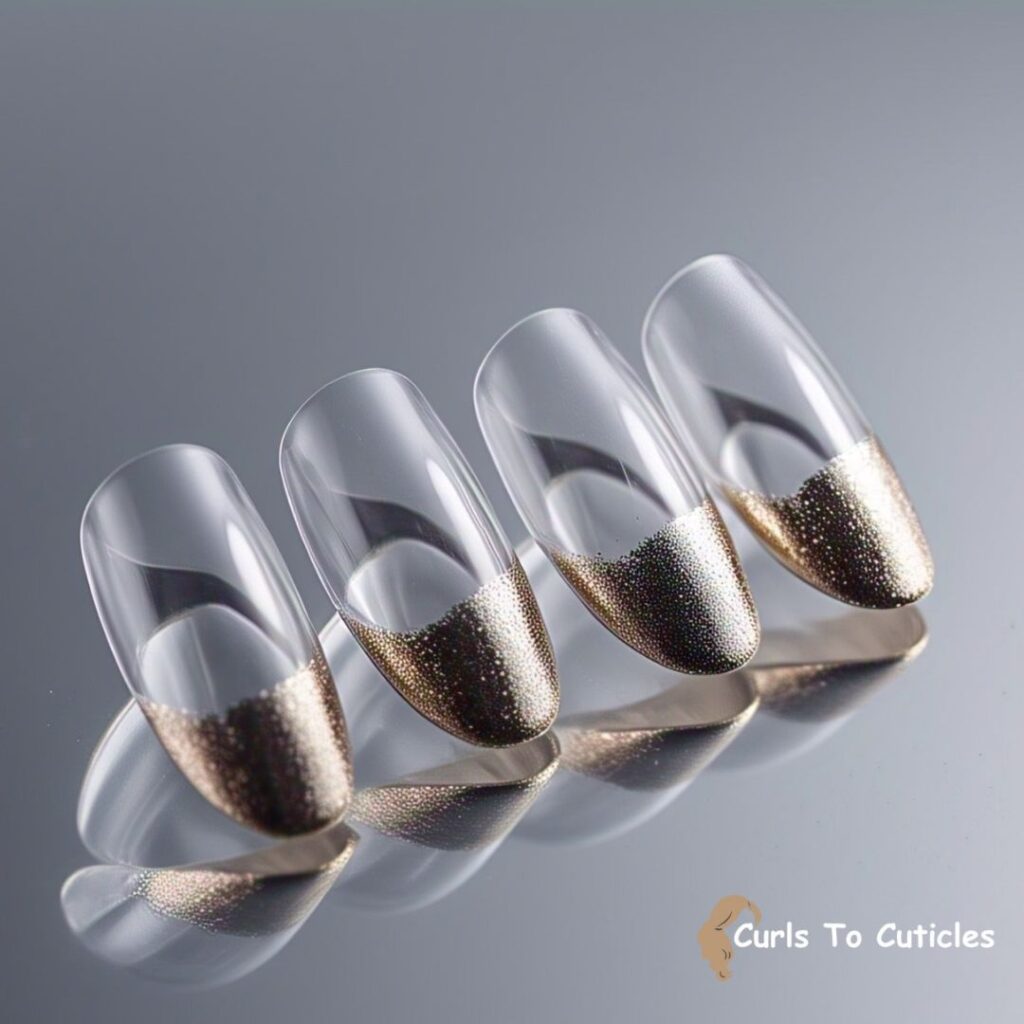
This style keeps the majority of the nail bare, using a clear polish for the base and adding a flash of color to the tips. I typically choose metallic shades like gold, silver, or rose gold for the tips to add contrast. This design is clean but bold. It gives the impression of a reverse French manicure with a futuristic twist.
10. Subtle Glitter Gradient
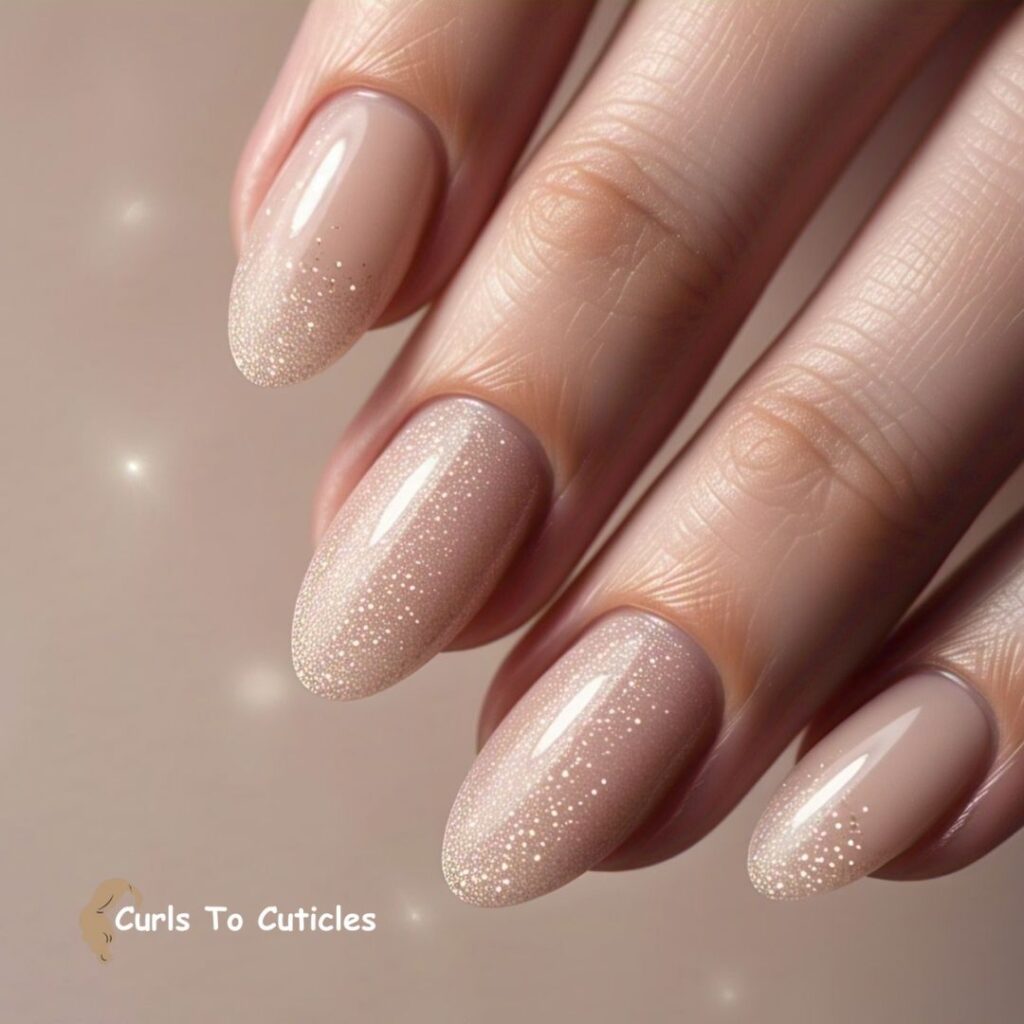
For this look, I apply glitter polish starting at the tip of the nail and gently blend it downward. I use a sponge to dab the glitter for a soft transition. The result is a sparkle that fades as it approaches the base. I prefer using fine glitter in soft tones like silver or champagne for a subtle effect. It’s a great way to add shine without being too flashy.
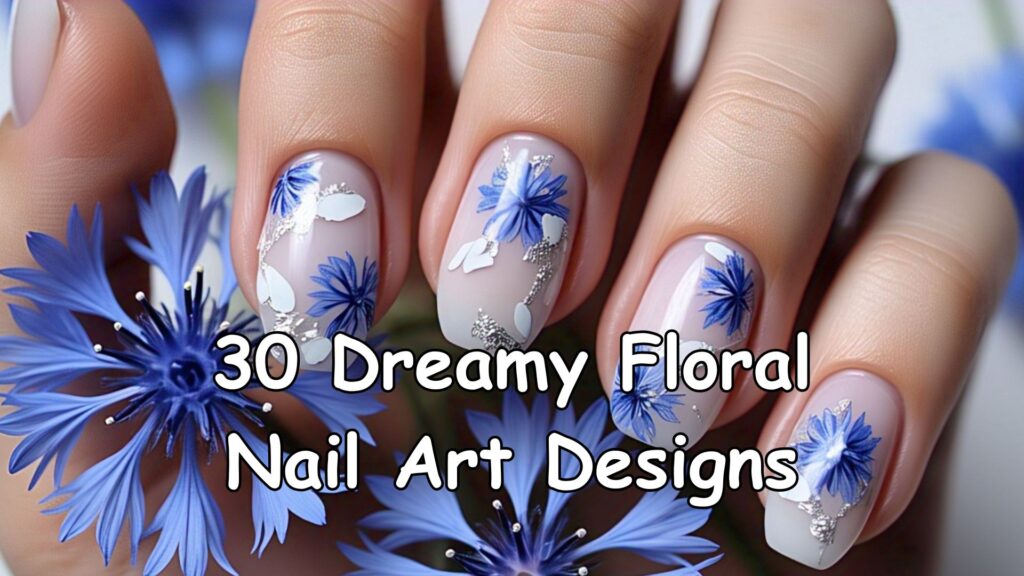
11. Minimalist Floral Designs
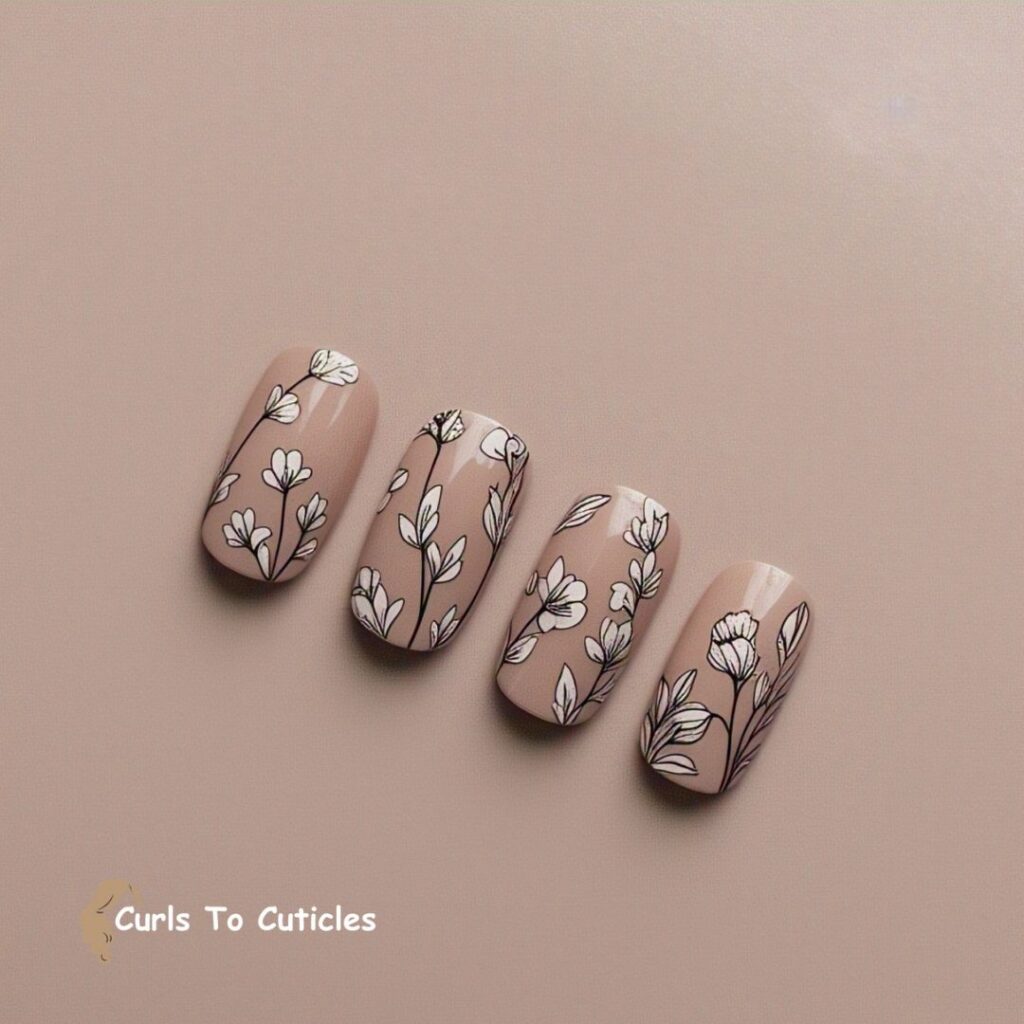
Tiny floral patterns are a great way to add a soft, feminine touch without going overboard. I usually paint one small flower, petal, or leaf on a neutral base. Using pastel shades or muted tones keeps the design subtle and elegant. These look best when placed near the cuticle or at the corner of the nail.
12. Dot Matrix
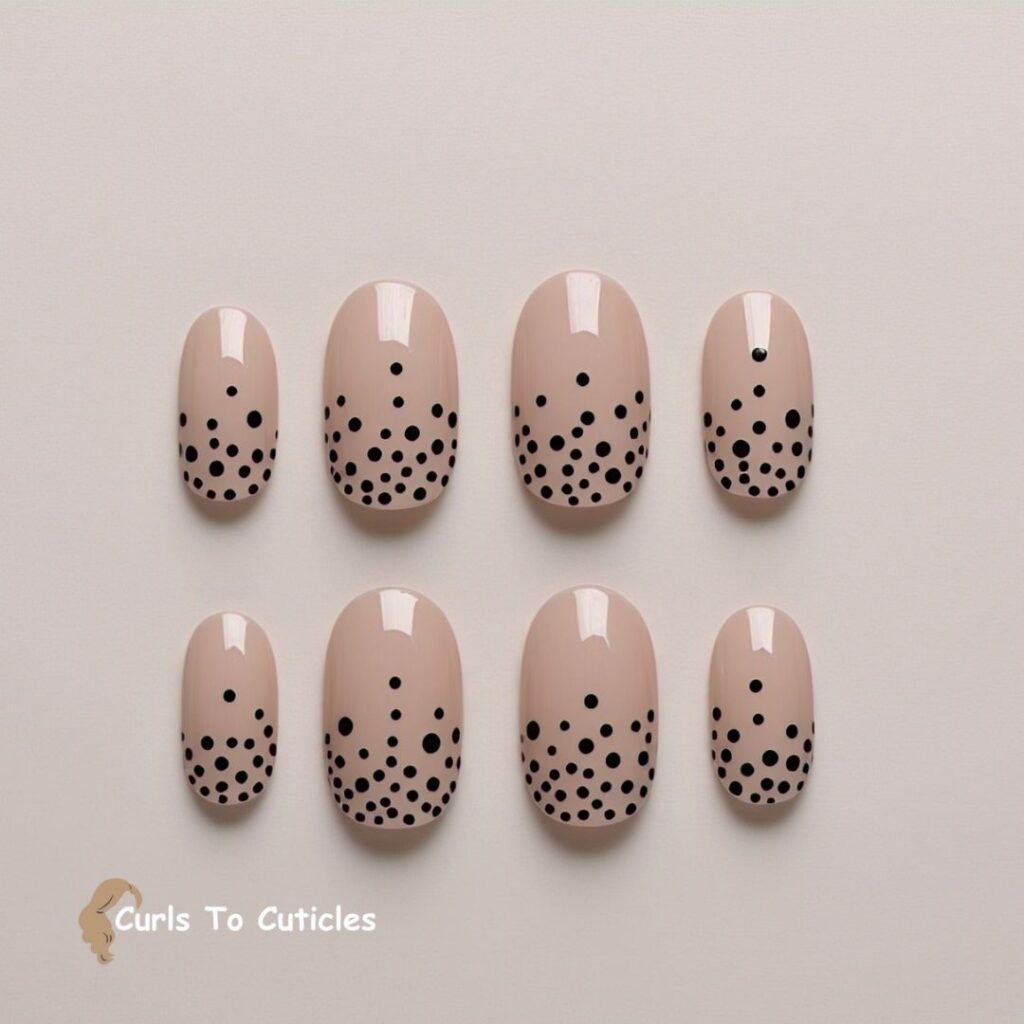
A dot matrix involves arranging small dots in neat rows or patterns across the nail. I use a dotting tool to keep the size and spacing consistent. You can go with all one color or alternate shades for a bit of variety. It’s a simple design, but it always stands out in a quiet, stylish way.
13. Half-Moon Manicure
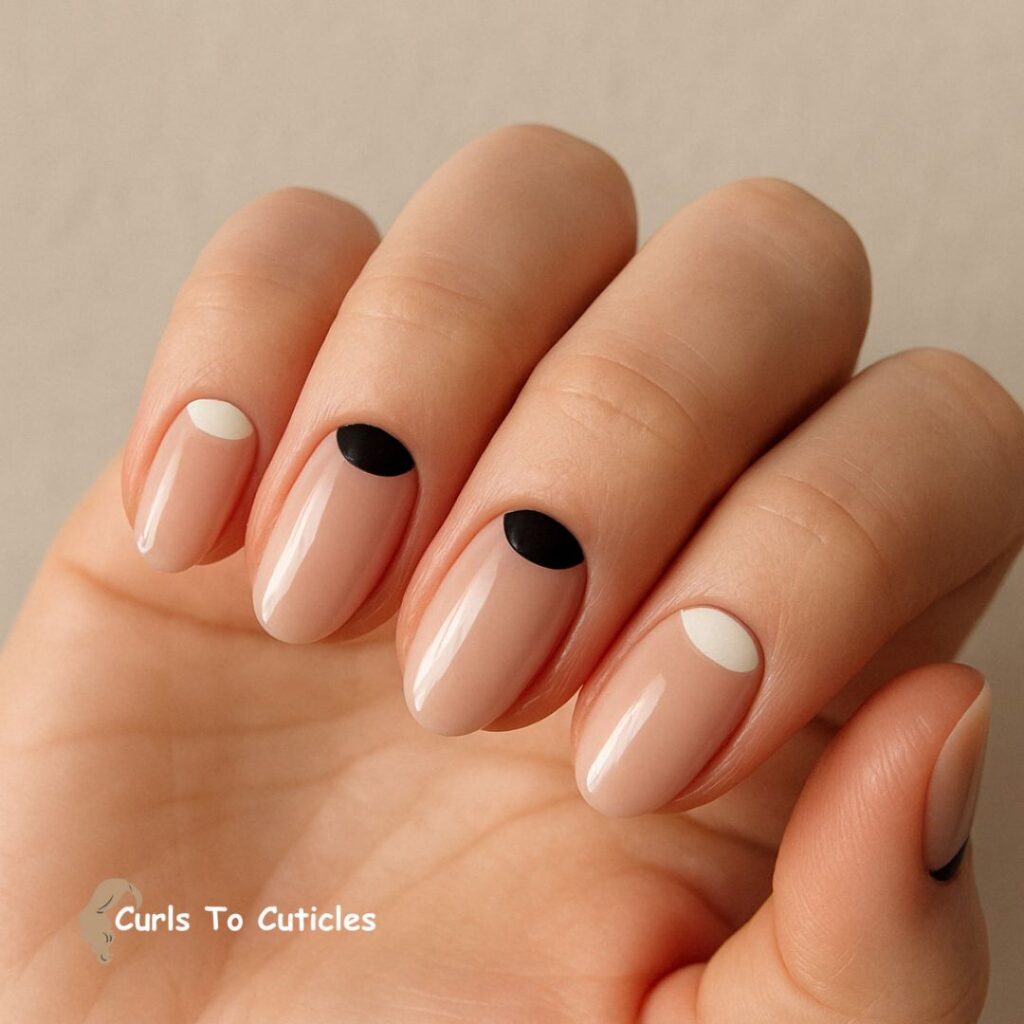
The half-moon manicure highlights the natural lunula at the base of the nail by painting it a different color. I usually apply a base color, then use a nail guide to leave the half-moon section bare or paint it in a contrasting shade. It gives the nails a vintage yet modern vibe with very little effort.
14. Vertical Line Accent
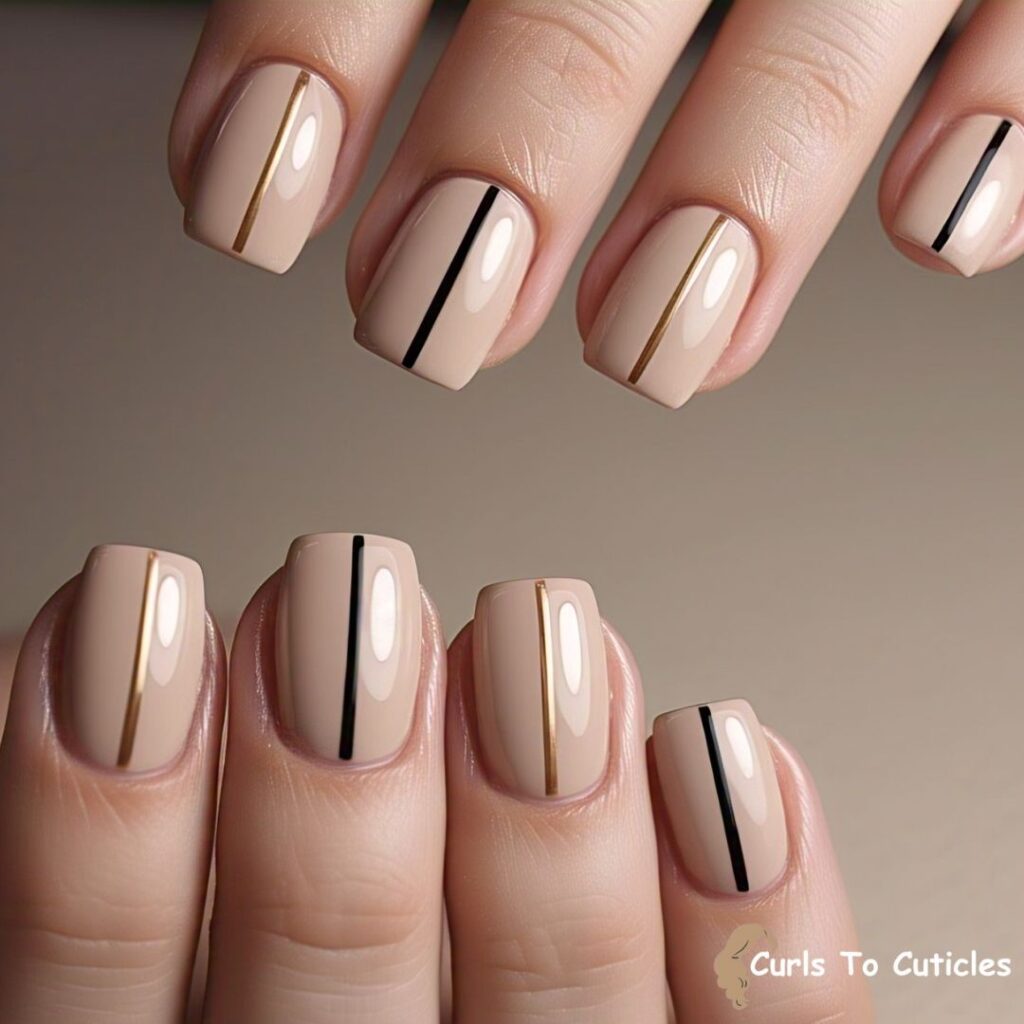
A single vertical line painted straight down the center of the nail creates a clean and elongating effect. I like to use bold colors for the line, especially against a nude or clear base. This design works well on short or long nails and adds a sharp, structured element to any look.
15. Asymmetrical Designs
Asymmetrical nail art adds interest without being busy. I usually paint just one side of the nail with color, stripes, or a simple shape like a triangle. It draws the eye and feels more creative than traditional centered designs. This type of style works well when you want something different but still minimal.
16. Minimalist Animal Print
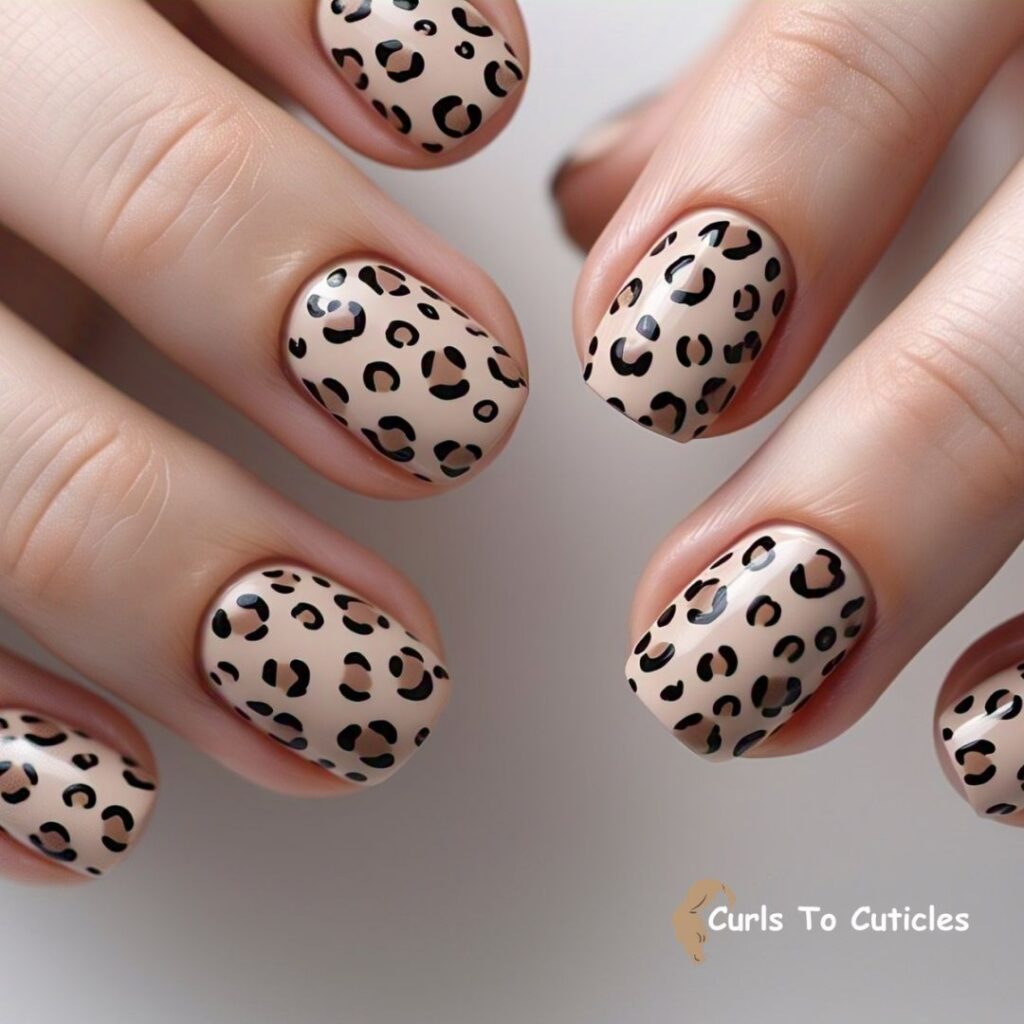
I like using soft neutral tones—such as beige, taupe, or light gray—as the base color. Then I add small, simple patterns like tiny leopard spots or thin zebra stripes using a fine brush or stamping tool. The goal is to keep the design small and sparse, which adds a wild edge without making the nails look too busy. It works well for those who want a fun look that still feels clean and understated.
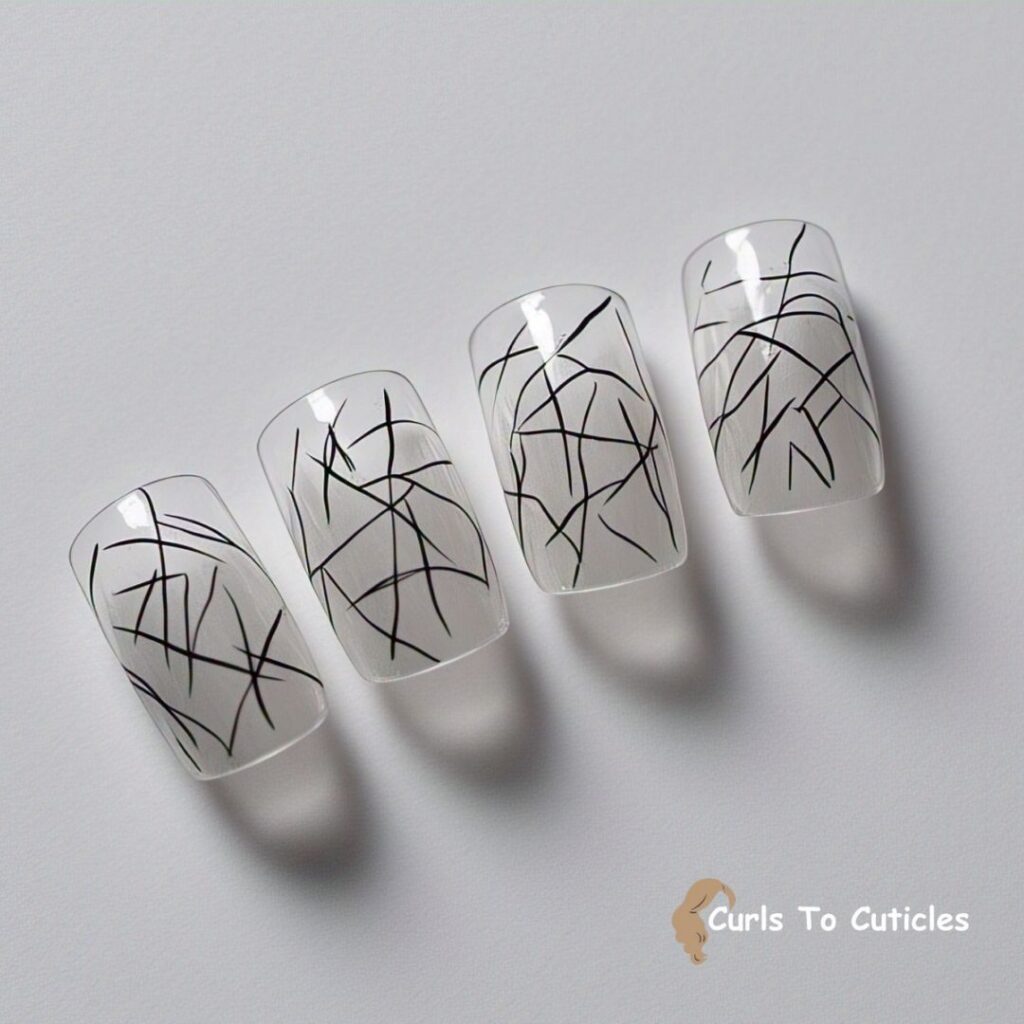
17. Transparent Nails with Minimal Art
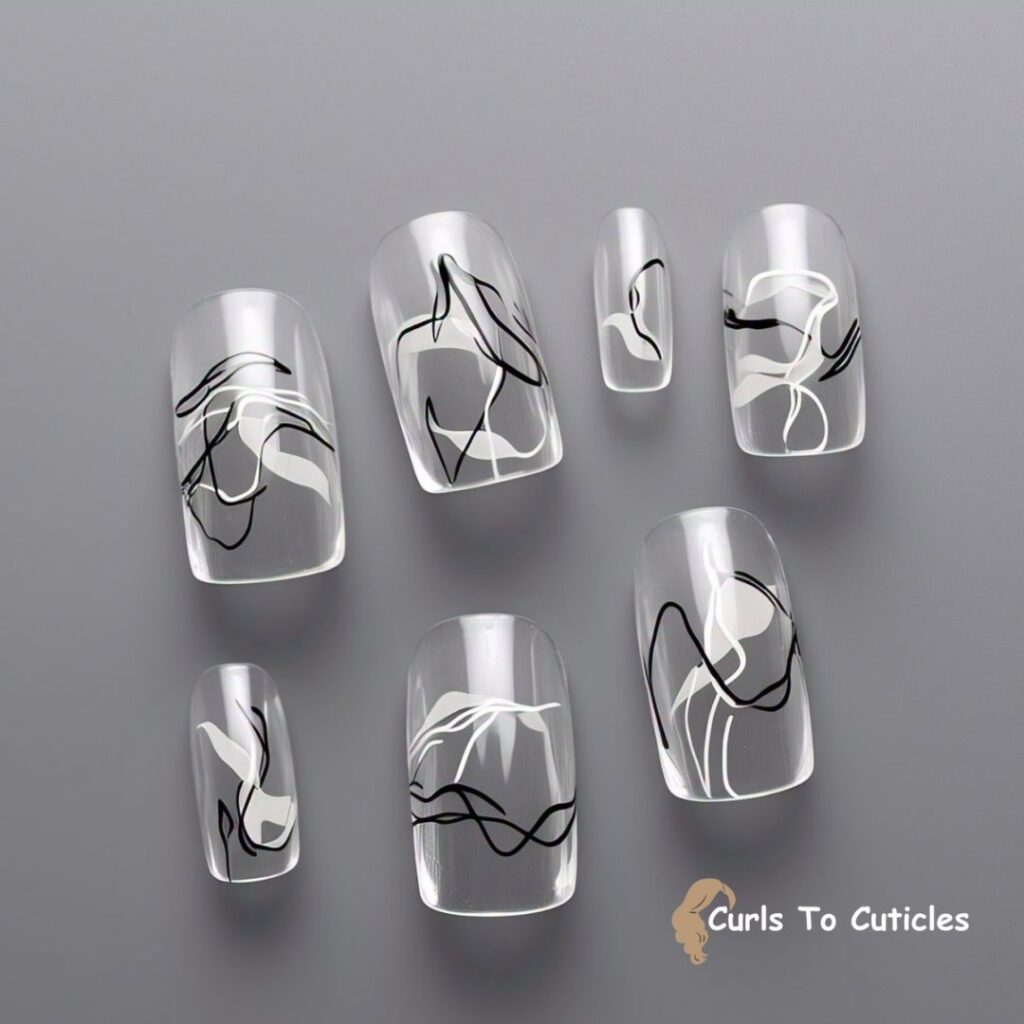
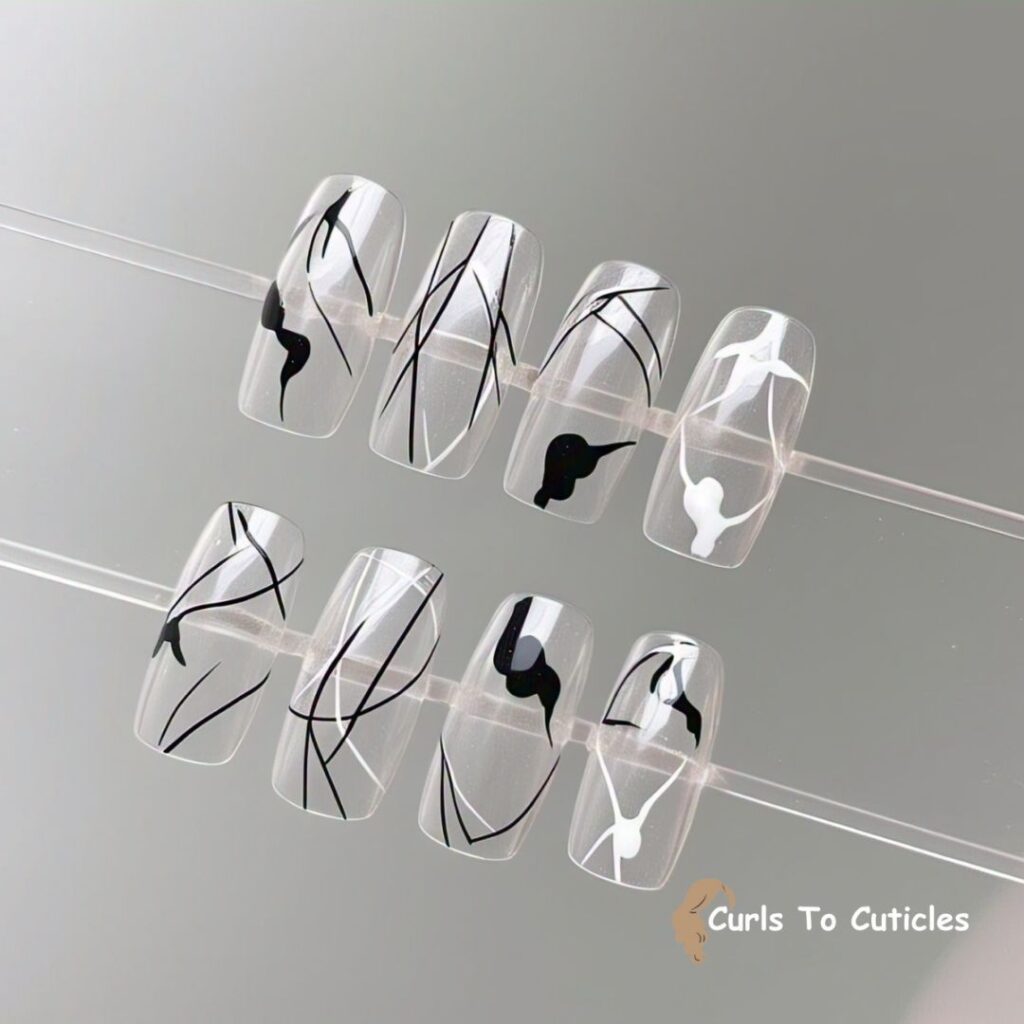
I start by applying a high-shine clear polish as the base. On top of that, I add small, minimalist details like single lines, dots, stars, or tiny shapes using nail stickers or hand-painted elements. Because the base is see-through, the artwork seems to float on the nail. This design is perfect for when I want something artistic but subtle, and it goes with everything I wear.
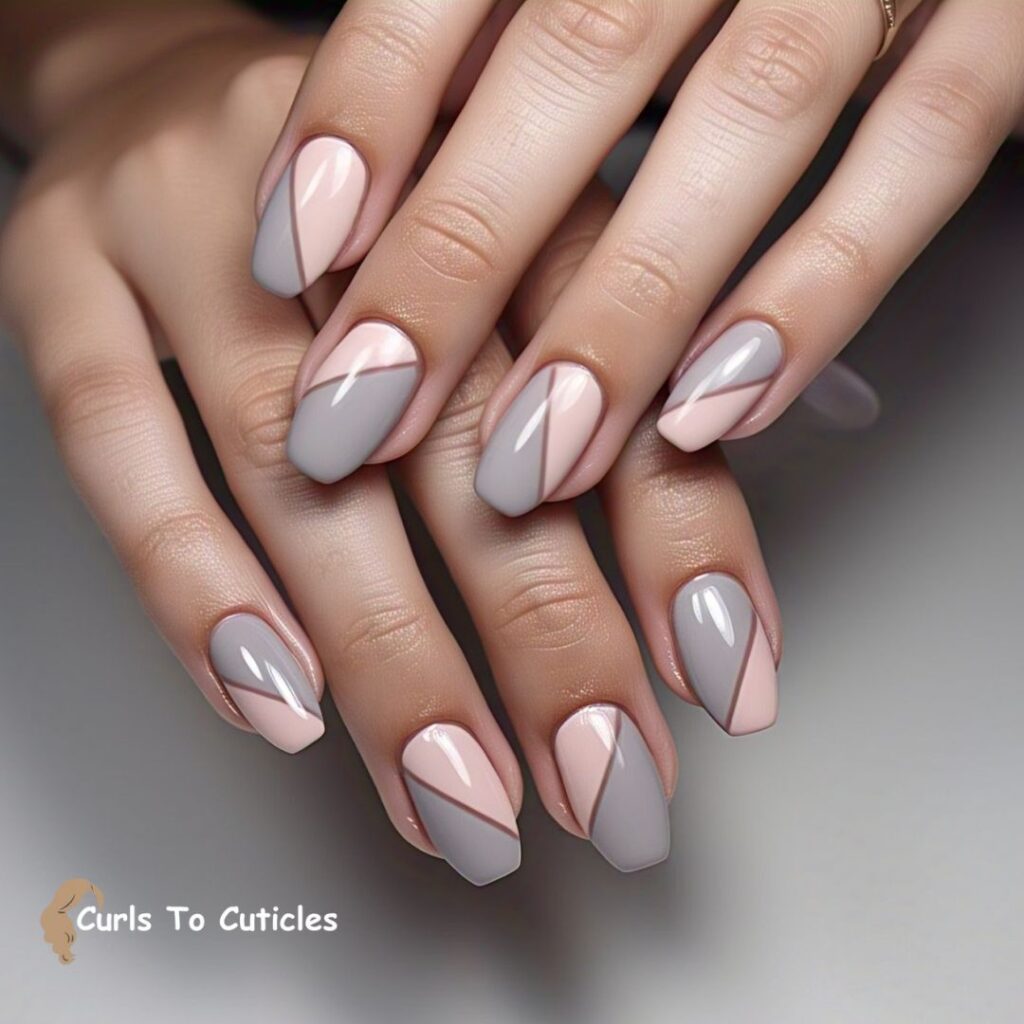
18. Diagonal Color Blocks
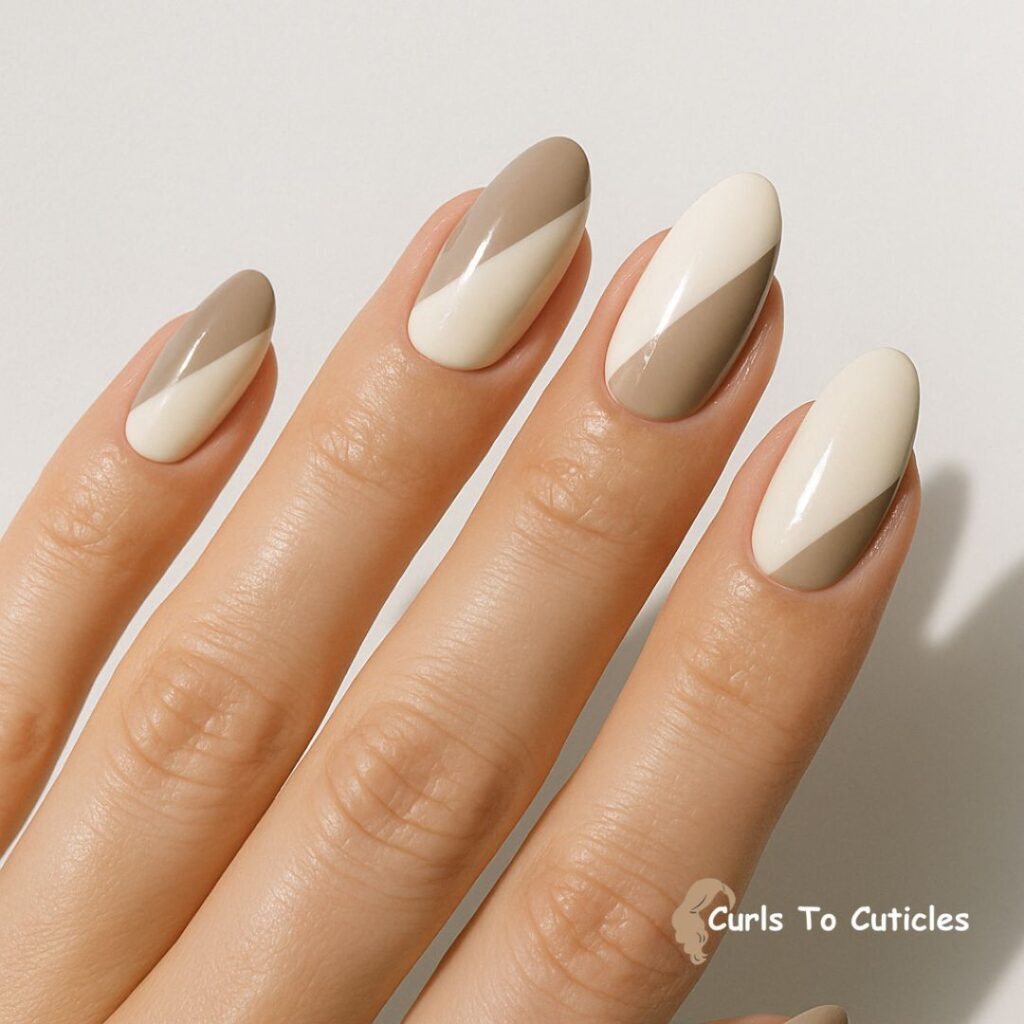
This design starts with a neutral base or a bare nail. I use tape or a stencil to mask off diagonal sections of the nail, then fill them in with a contrasting polish. The clean, sharp lines created by the diagonal division give the nails a bold but minimalist look. I like using soft pink with black, or beige with navy blue. The angle adds movement and keeps the nails from looking too flat.
19. Single Nail Accent
When I want something simple with just a little flair, I paint all my nails in one color and choose one nail—usually the ring finger—for an accent. The accent can be a metallic polish, a matte finish, a small symbol, or a line design. This small change adds visual interest without breaking the clean look. It’s one of the easiest ways to upgrade a plain manicure.
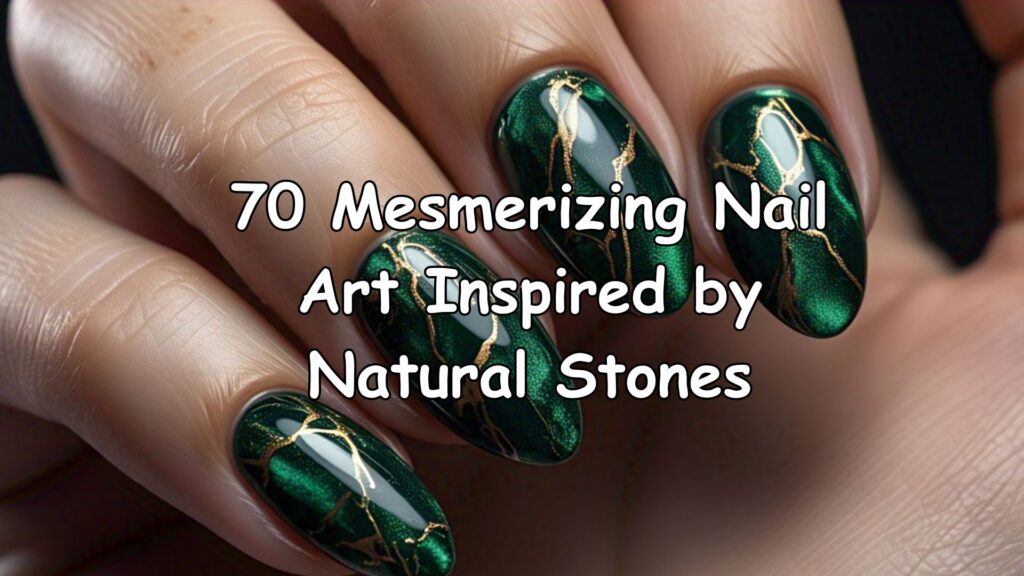
20. Minimalist Marble Effect
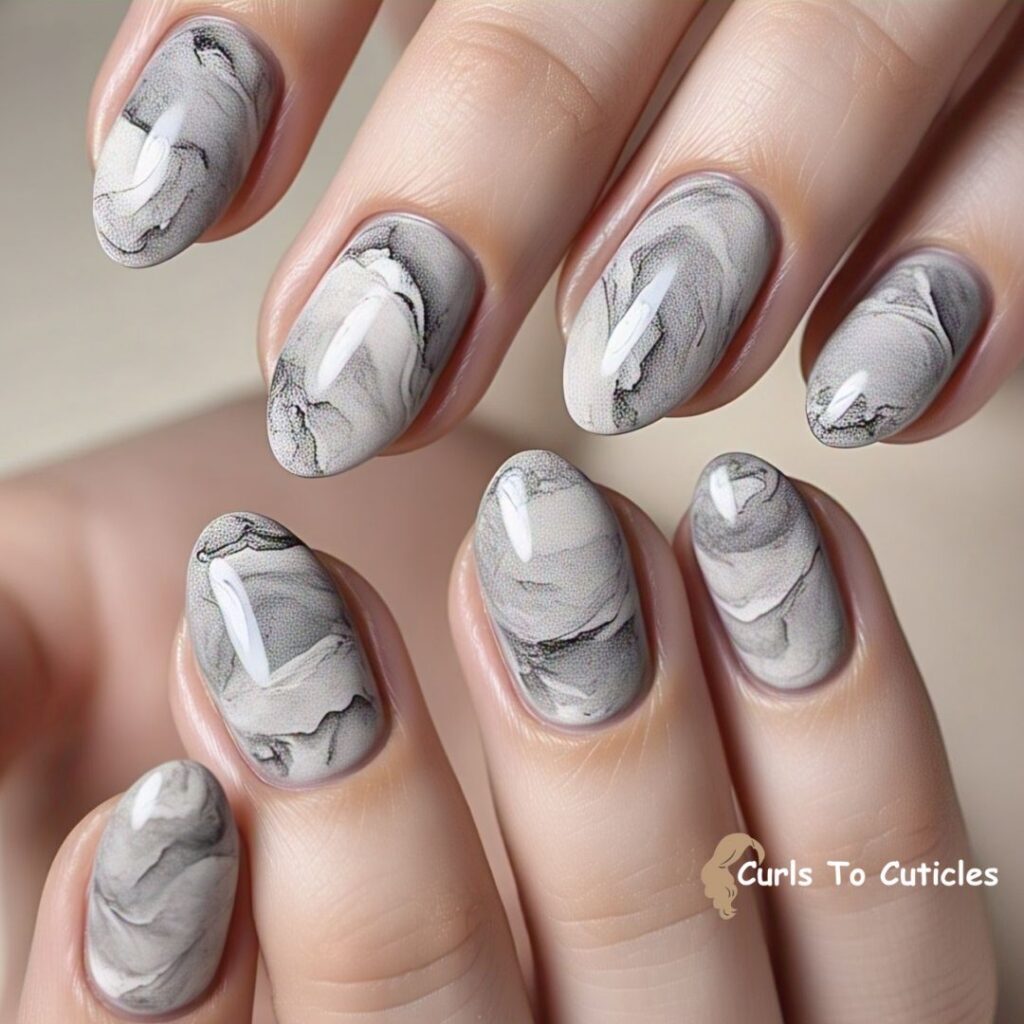
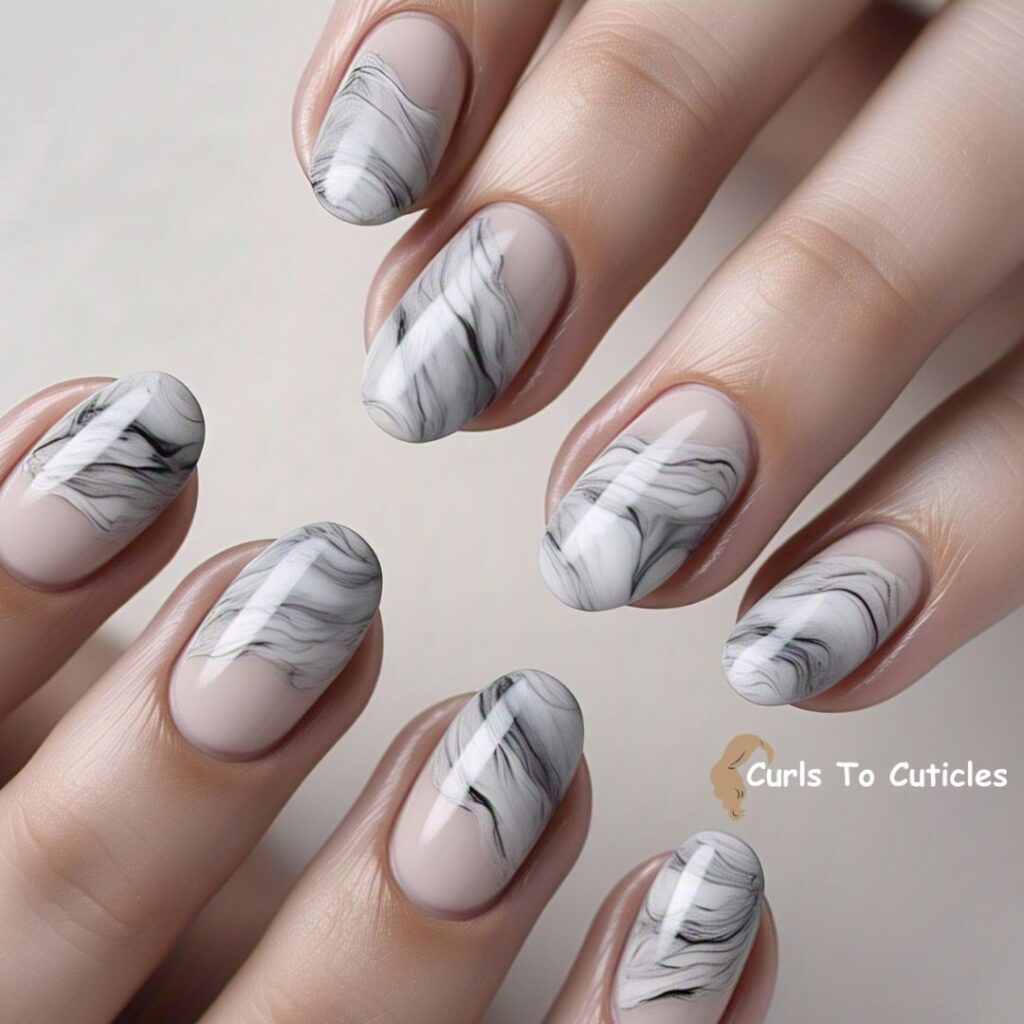
To create a marble look, I start with a pale base like white or soft gray. Then I mix in slightly darker tones using a thin brush or a needle. I swirl the colors together gently to mimic real marble veins. The result is soft and textured, but still minimal. This style adds elegance to the nails without making them look overdone. I usually keep the colors close in tone to keep the look cohesive.
21. Outline Nails
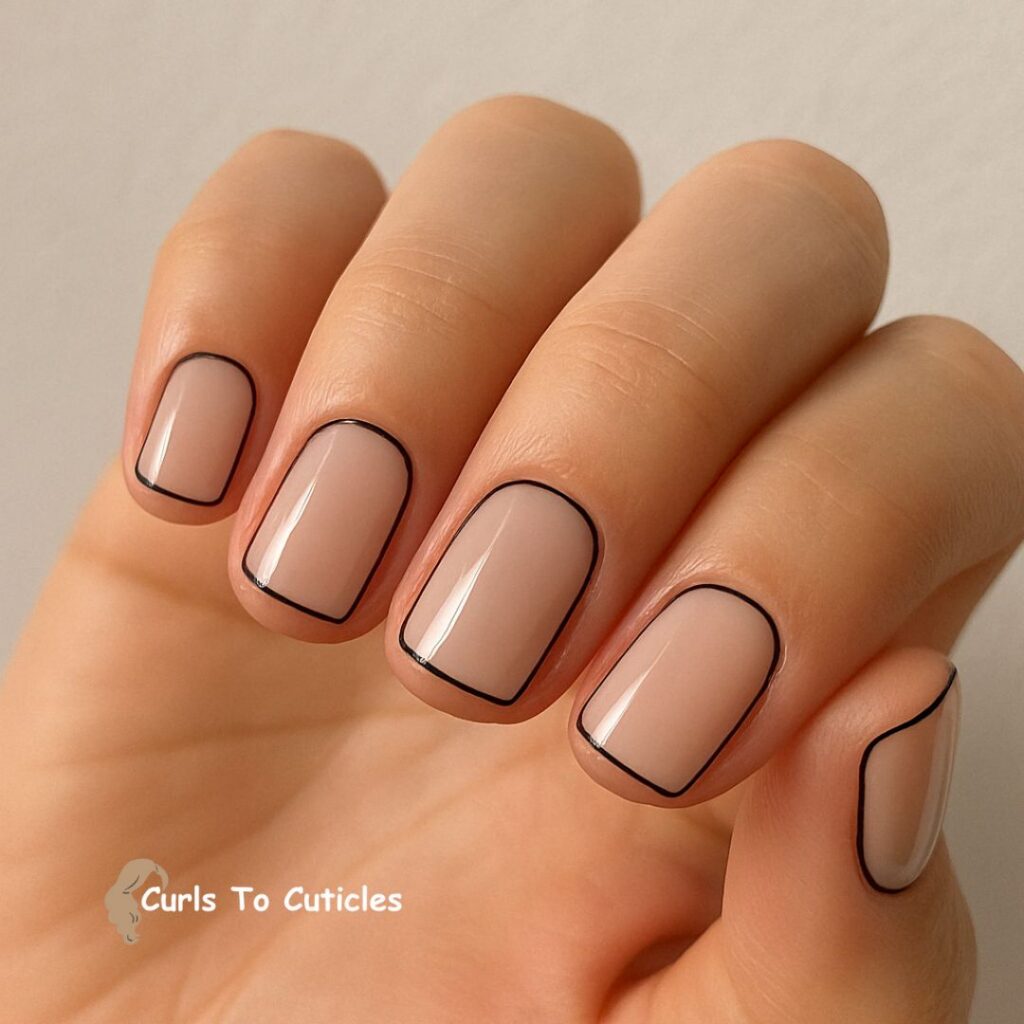
Outlining the perimeter of the nail with a contrasting color creates a sleek, defined look. It emphasizes the natural shape of the nail and adds structure to the overall design. I find that using a thin brush with a steady hand is key to keeping the outline neat and even. This style works well with both bold and neutral base colors.
22. Minimalist French Fade
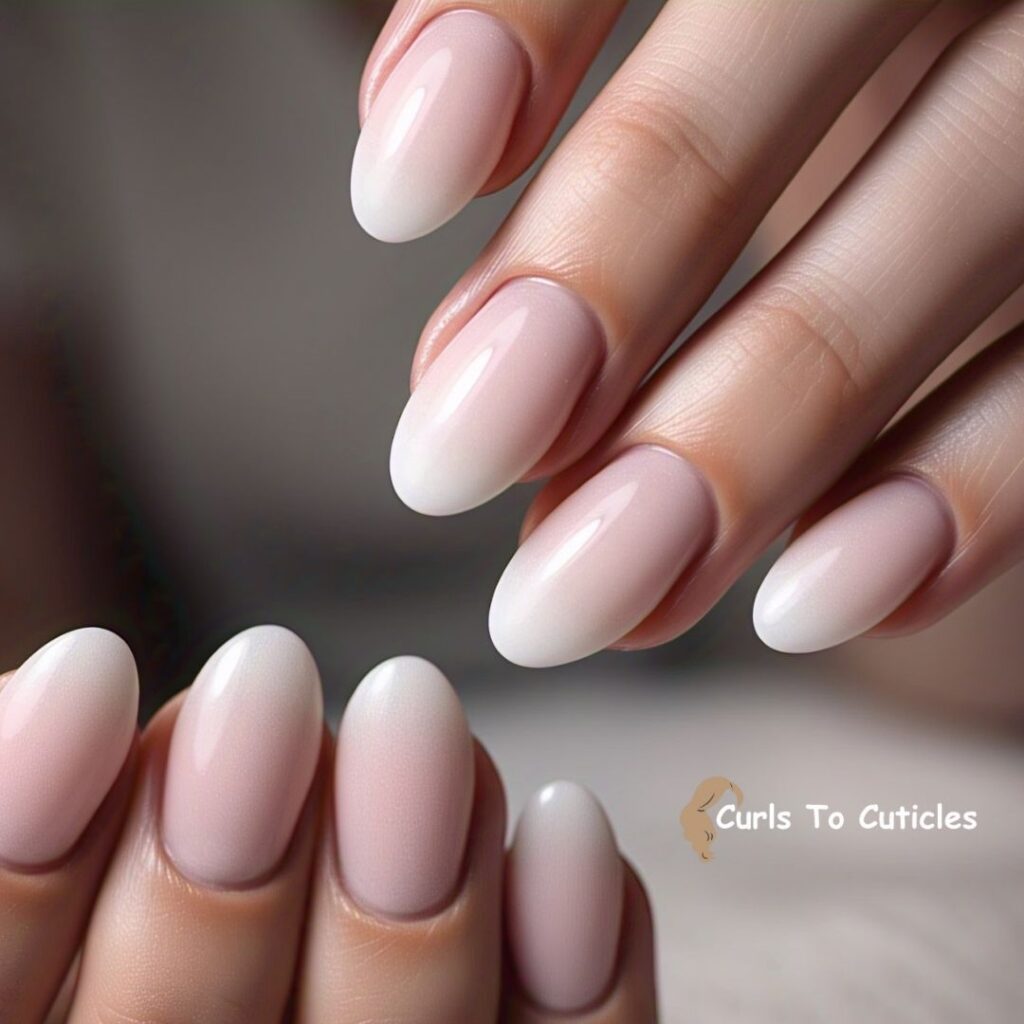
This design blends the tip color softly into the base for a smooth gradient effect. Unlike a traditional French manicure with a sharp line, the fade is subtle and modern. I apply a small amount of polish to a makeup sponge, then gently tap it on the tips and work down slightly to create a seamless transition. It gives the nails a clean and elegant finish.
23. Tiny Heart Accents
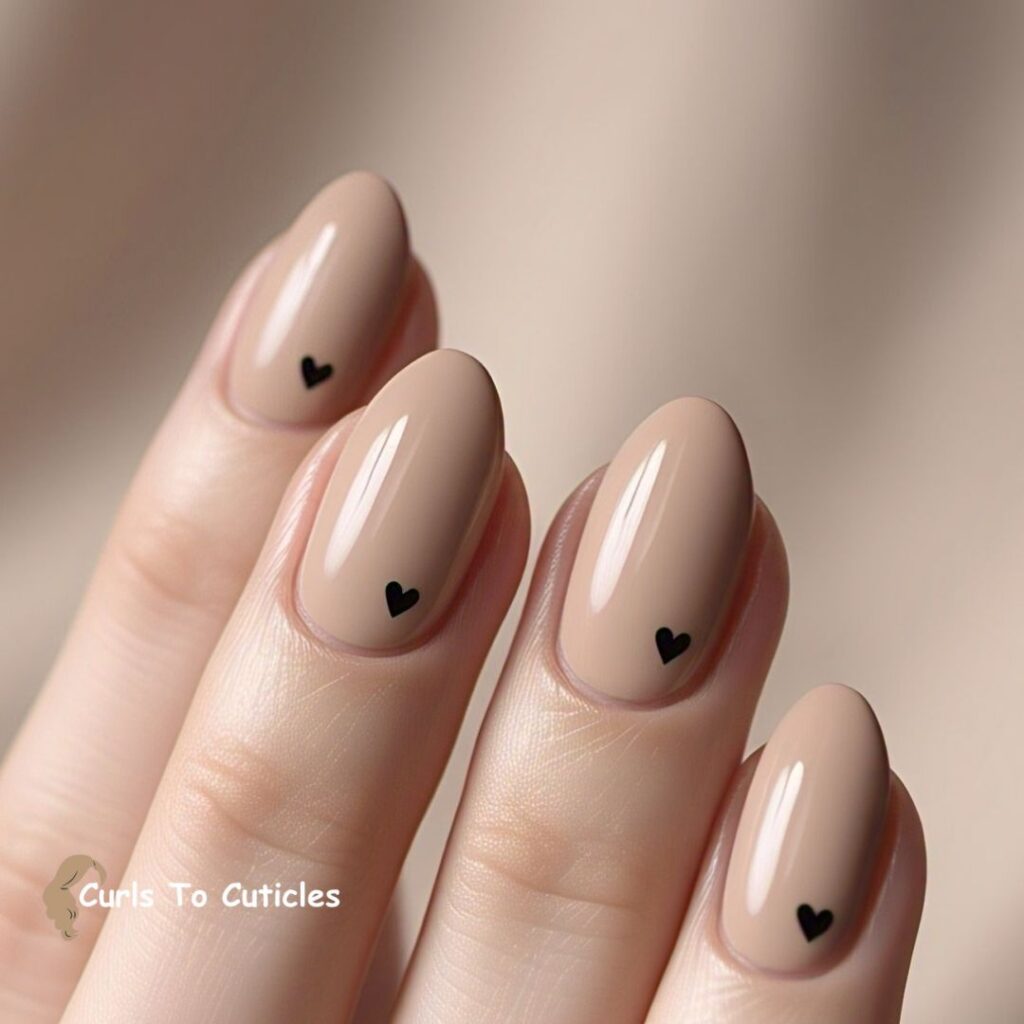
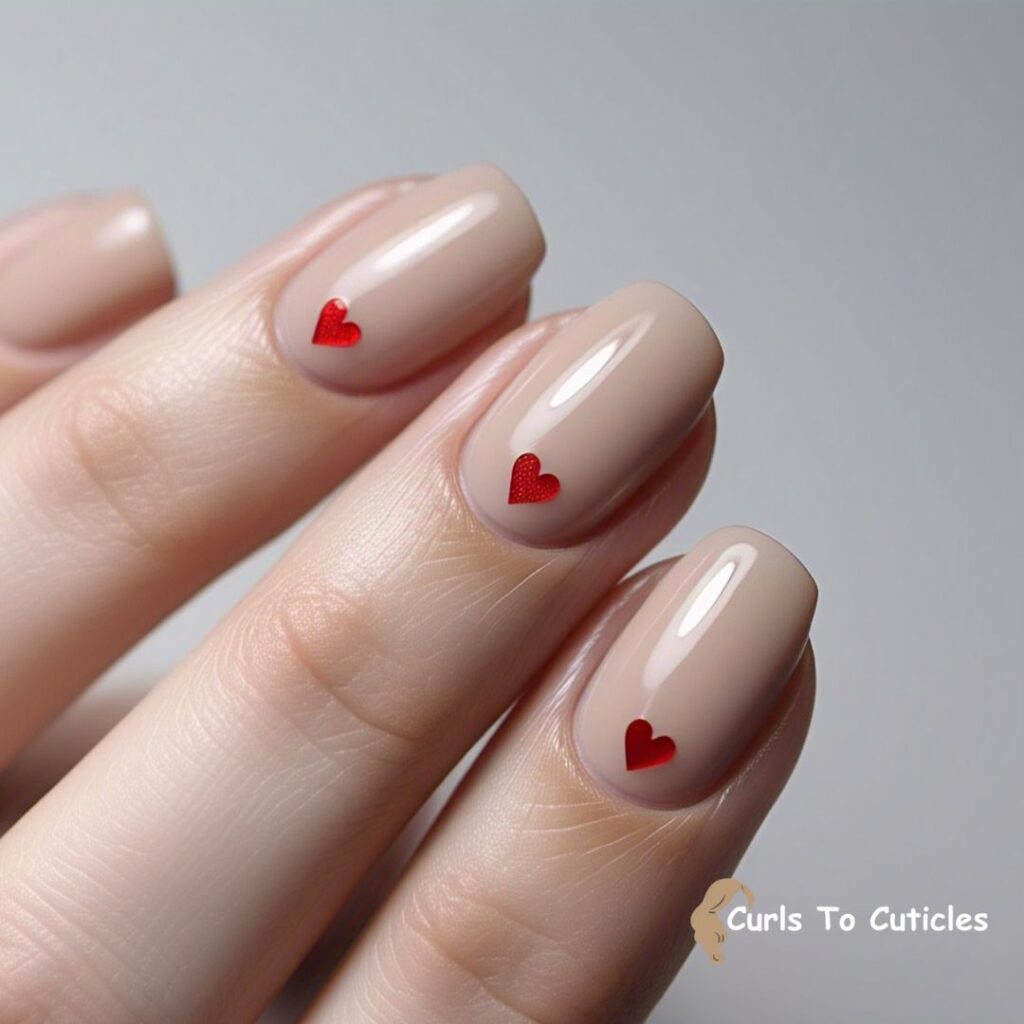
Small heart designs are a simple way to add charm to your nails. I usually place them near the cuticle or in the center for balance. Using a dotting tool, I make two small dots side-by-side and pull them down into a point with a fine brush to form the heart shape. It’s a sweet, minimal detail that doesn’t overwhelm the nail.
24. Minimalist Star Designs
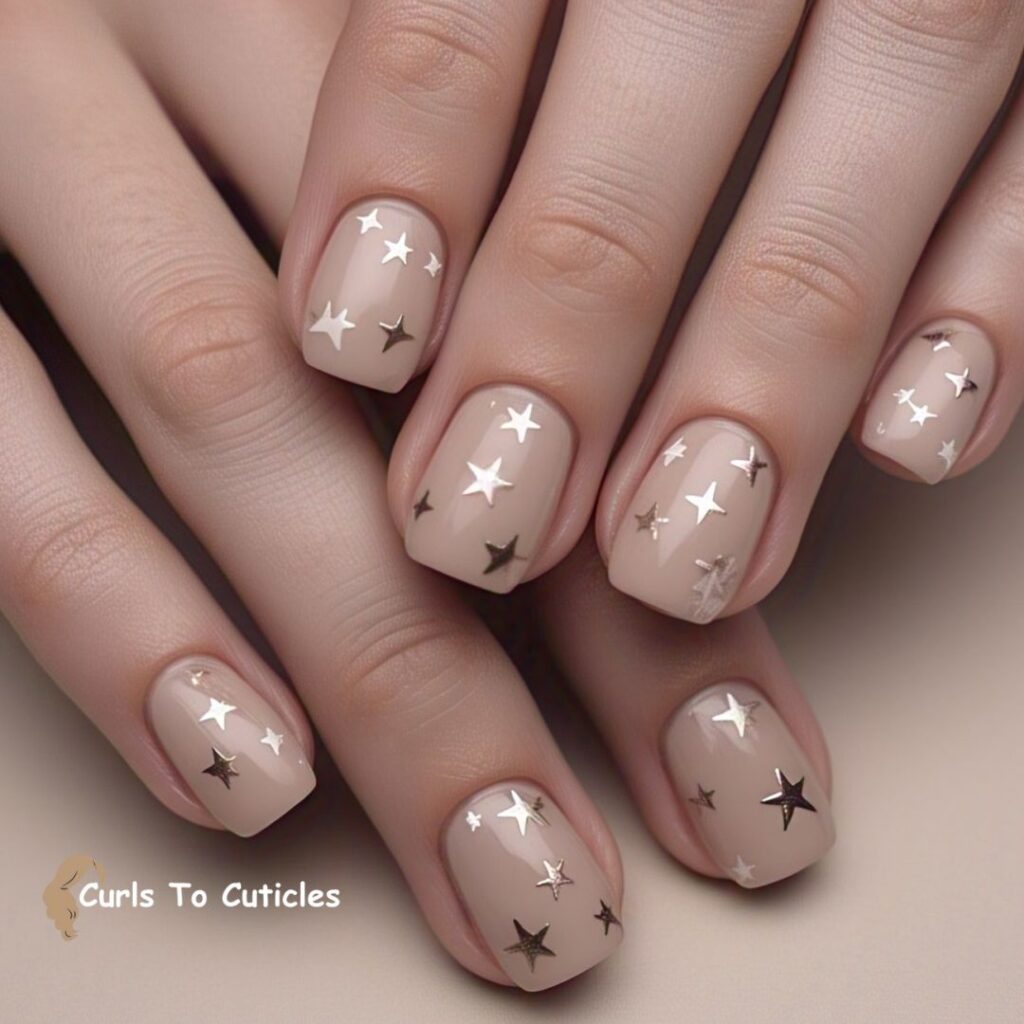
Stars are great for adding a delicate, dreamy touch to nails. I either paint them by hand using a thin brush or use star-shaped stickers or decals for ease. Metallic shades like silver or gold create a subtle sparkle that complements any base color. These tiny stars work well scattered or placed strategically on just one or two nails.
25. Bare Nails with Cuticle Art
Keeping the nail bare and adding small details near the cuticle creates a very clean and modern look. I usually add simple elements like a tiny line, dot, or geometric shape right above the cuticle area. This design draws attention in a quiet, stylish way and is easy to maintain since the nail remains mostly natural.
Minimalist nail art allows for creativity while maintaining a clean and modern appearance. These designs are versatile and can be adapted to suit personal preferences and occasions. I encourage experimenting with these ideas to find the perfect minimalist style that resonates with you.
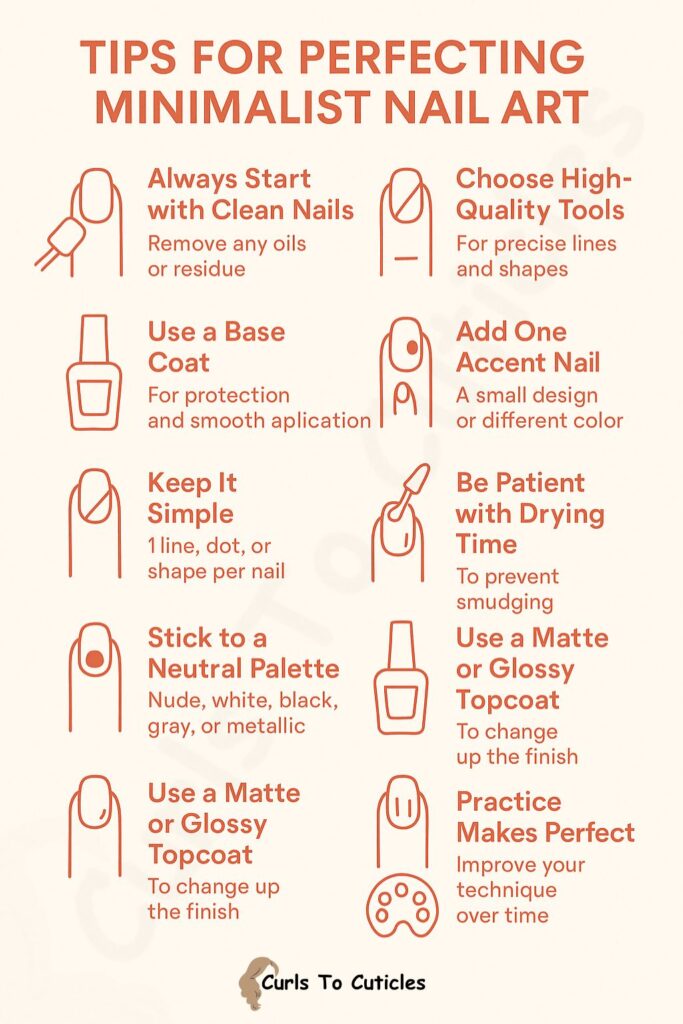
Tips for Perfecting Minimalist Nail Art
To help you get the best results with minimalist designs, I’ve included some tips that have worked well for me. These are easy to follow and make a big difference in how your nails turn out.
1. Always Start with Clean Nails
I make sure my nails are clean and free of oils or residue before applying polish. This helps the polish adhere better and last longer.
2. Use a Base Coat
A good base coat protects my nails from staining and helps create a smooth surface. It also helps the color stay on longer without chipping.
3. Choose High-Quality Tools
I invest in a fine nail brush, a good dotting tool, and nail tape. These tools help me create sharp lines and clean shapes.
4. Keep It Simple
When I design minimalist nails, I don’t overthink it. One line, one dot, or one shape per nail is usually enough to look stylish.
5. Stick to a Neutral Palette
Minimalist designs often look best with soft or neutral colors. I like using nude, white, black, gray, and metallic tones to keep things simple and modern.
6. Add One Accent Nail
If I want a little variety, I paint just one nail with a small design or different color. This keeps the overall look balanced but still interesting.
7. Be Patient with Drying Time
I wait a few minutes between layers to avoid smudging. Using a quick-dry topcoat also helps speed things up.
8. Clean Up the Edges
After I finish, I dip a small brush in nail polish remover and clean up around the cuticles for a sharp, salon-like finish.
9. Use a Matte or Glossy Topcoat
Choosing between matte and glossy finishes can completely change the look. I like switching it up depending on the season or event.
10. Practice Makes Perfect
Some minimalist designs take a steady hand. I practice on a nail art wheel or a piece of paper before applying them to my nails.
These tips help me keep my nail art clean, stylish, and consistent. Minimalist designs may look simple, but a little care and technique make them look professional and polished.
Download Below Infographic For Future Use
Final Thoughts
Minimalist nail art gives me a way to express style without using bold colors or complex designs. It’s clean, simple, and easy to maintain. Whether I’m going to work, meeting friends, or just staying home, these looks always feel right.
I like that I don’t need professional tools or advanced skills to get started. With a steady hand, a few basic supplies, and a bit of creativity, I can try new designs any time I want. Even small changes, like switching from a gloss to a matte finish or adding a thin line, can refresh my entire look.
I hope these design ideas and tips help you create nail art that feels modern, stylish, and true to you. Minimalist doesn’t mean boring—it means thoughtful and clean. I enjoy the process of keeping things simple and letting small details make a big impact.
Related Posts
Previous Post
Next Post


Hey, y’all! I’m Sophia!
A 31-year-old hair and nail care enthusiast from a small town in Tennessee. I love testing products, creating simple DIY treatments, and sharing what works through my blog. Everything I post is based on real experience and a love for everyday self-care. Whether it’s finding the right shampoo or growing stronger nails, I keep it easy, honest, and helpful.. Learn more