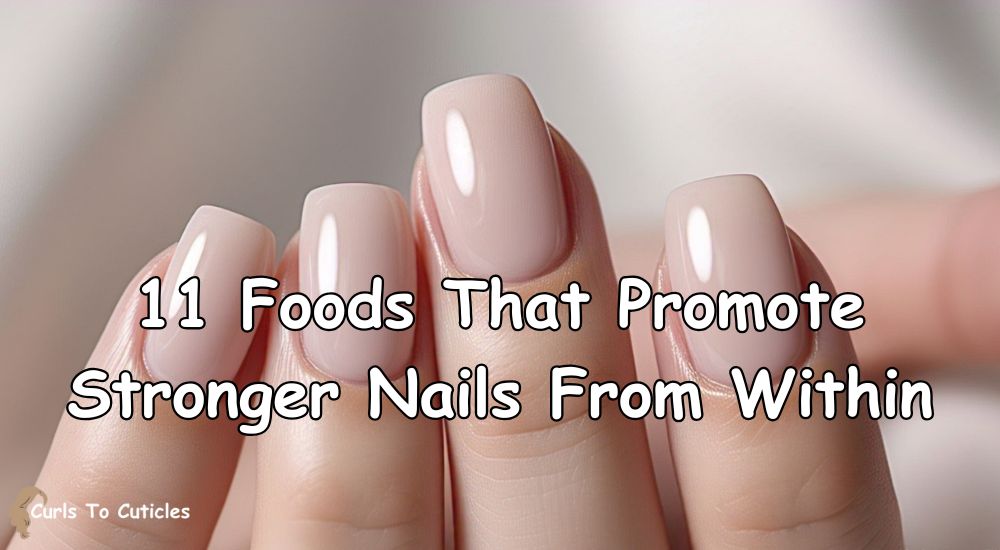
Now Reading: 10 DIY Nail Soaks for Stronger, Longer Nails – All Natural!
-
01
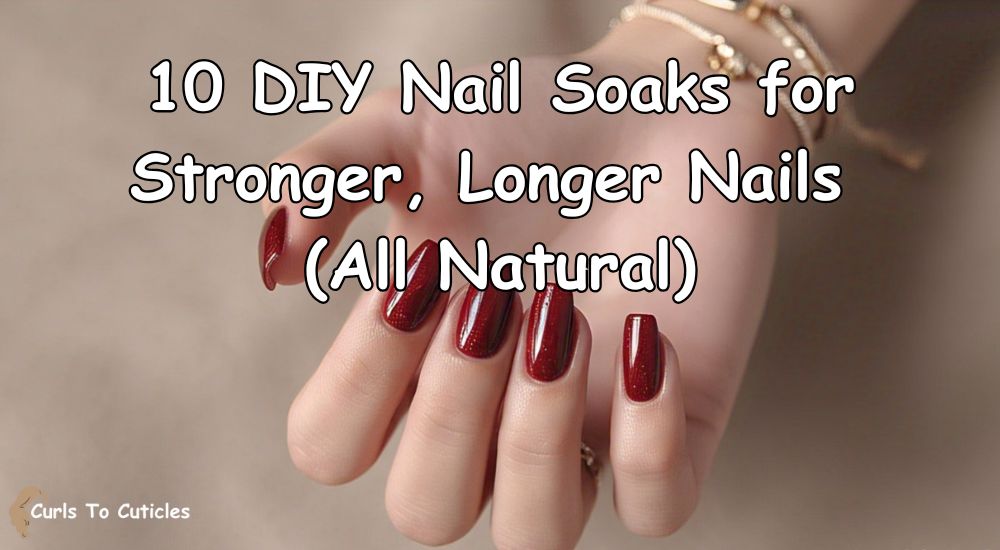
10 DIY Nail Soaks for Stronger, Longer Nails – All Natural!
Strong, long nails make hands look clean and healthy. But frequent washing, harsh chemicals, or nail biting can weaken nails. Instead of using products with synthetic ingredients, I prefer simple DIY nail soaks. These recipes use natural ingredients I usually have at home. They help strengthen nails, promote growth, and prevent breakage.
Below, I’ll share 10 all-natural nail soak recipes that I personally use or recommend. These are easy to prepare and gentle on both nails and skin.
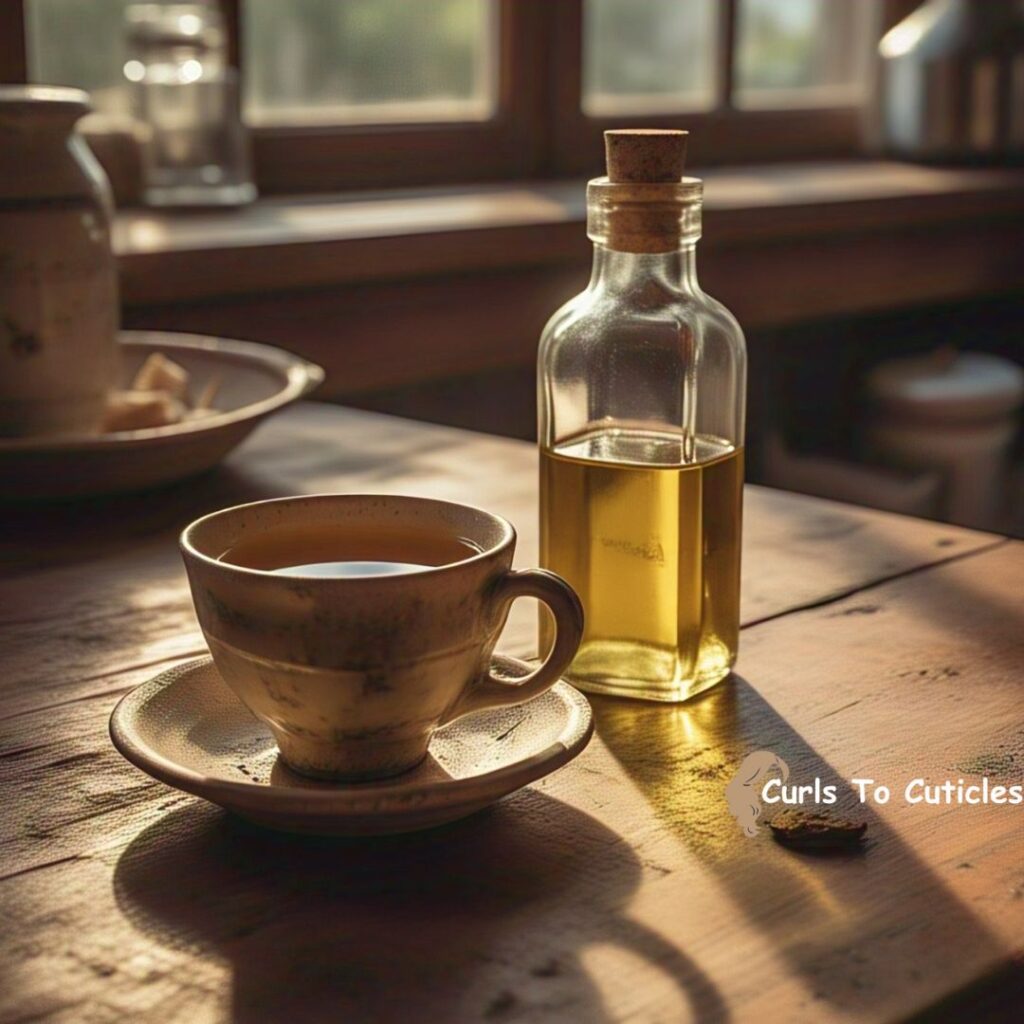
1. Olive Oil and Lemon Soak
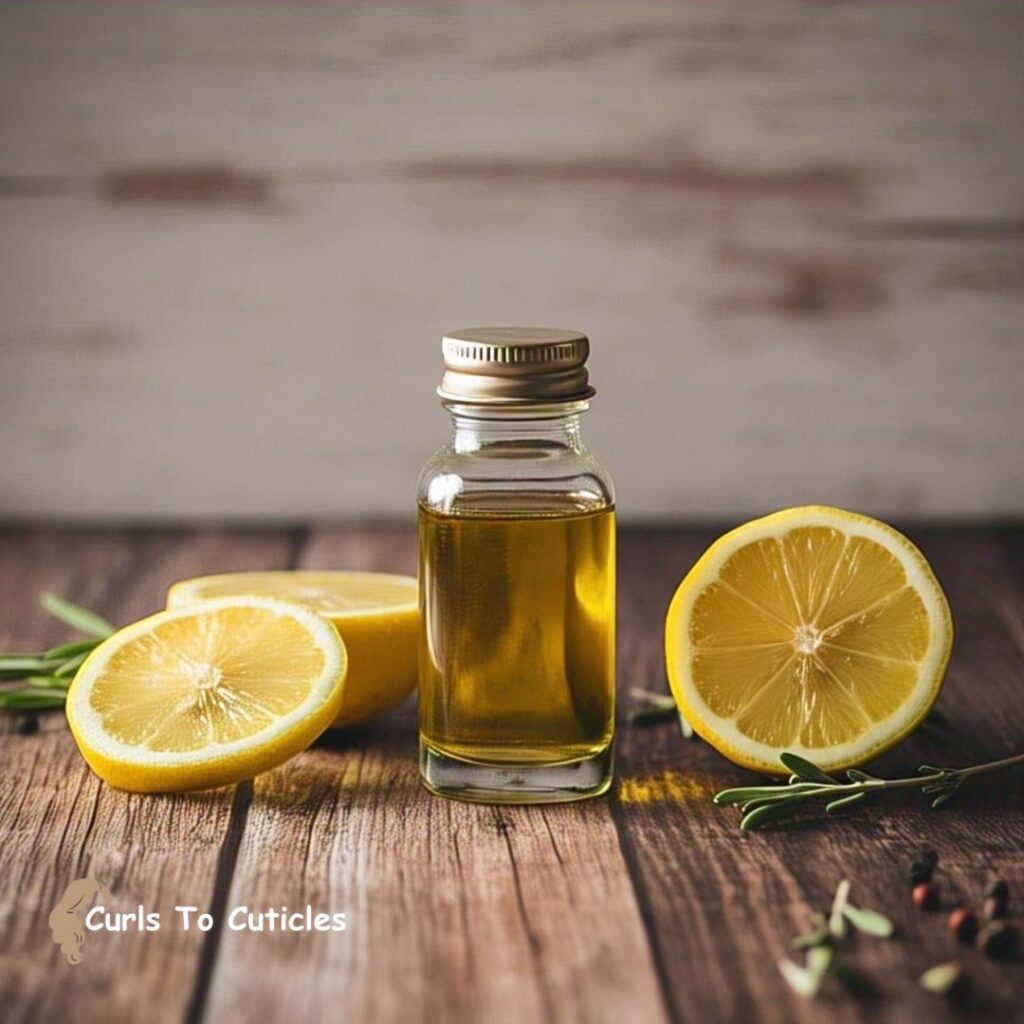
Why I Use It:
I use this soak when my nails feel dry, weak, or look dull. Olive oil is rich in vitamins A and E, which help restore moisture to the nail plate and surrounding skin. It also softens the cuticles and keeps the nail bed flexible. This helps prevent splits or cracks.
Lemon juice acts as a natural bleach. It helps remove yellow stains from polish or chemicals. It also contains vitamin C, which supports collagen production. That makes the nail surface look brighter and healthier.
Together, these two ingredients improve the look and strength of my nails. I notice that regular use makes my nails smoother and less prone to peeling.
Ingredients:
- 2 tablespoons of olive oil
- 1 tablespoon of fresh lemon juice
I prefer extra virgin olive oil for better nutrients. I use fresh lemon juice, not bottled, because it contains more active enzymes and natural acids.
How I Use It:
I pour the olive oil into a small heat-safe bowl and warm it for about 10–15 seconds in the microwave. I check that it’s warm—not hot—to avoid skin irritation. Then I mix in the lemon juice.
I place my fingertips into the bowl and soak for 10 to 15 minutes. During the soak, I try to relax and avoid touching anything.
After the time is up, I take my hands out and gently massage the leftover mixture into my nails and cuticles. I do this for about 2 minutes to improve circulation and absorption.
I usually do this soak 2–3 times per week. Over time, I see stronger nails with a natural shine and smoother texture.
2. Coconut Oil and Honey Soak
Why I Use It:
I use this soak when my nails are dry and my cuticles feel rough. Coconut oil is a deep moisturizer. It penetrates the nail and skin, locking in moisture and making the nail bed soft and flexible.
Honey is a natural humectant. That means it attracts moisture from the air and holds it close to the skin. It also has antibacterial properties, which help keep the nail area clean and healthy.
When I combine coconut oil and honey, the result is a gentle, hydrating soak that leaves my nails smoother and less brittle. It also reduces hangnails and cracked cuticles.
Ingredients:
- 1 tablespoon of coconut oil
- 1 tablespoon of honey
I use organic, unrefined coconut oil when possible. For honey, I choose raw honey because it contains more enzymes and nutrients.
How I Use It:
I scoop the coconut oil into a bowl and warm it until it melts completely. I usually microwave it for 10 to 20 seconds. Once it becomes liquid, I add the honey and stir until the mixture looks smooth and even.
I dip my fingertips into the mixture and let them soak for about 15 minutes. I make sure the soak reaches the cuticles and nail surface.
After soaking, I wipe my hands with a soft towel. I let a little of the oil and honey mixture stay on my nails to keep them moisturized longer.
I use this soak 2–3 times each week, especially during colder months when my hands dry out faster. After a few weeks, I notice stronger nails that grow faster and break less often.
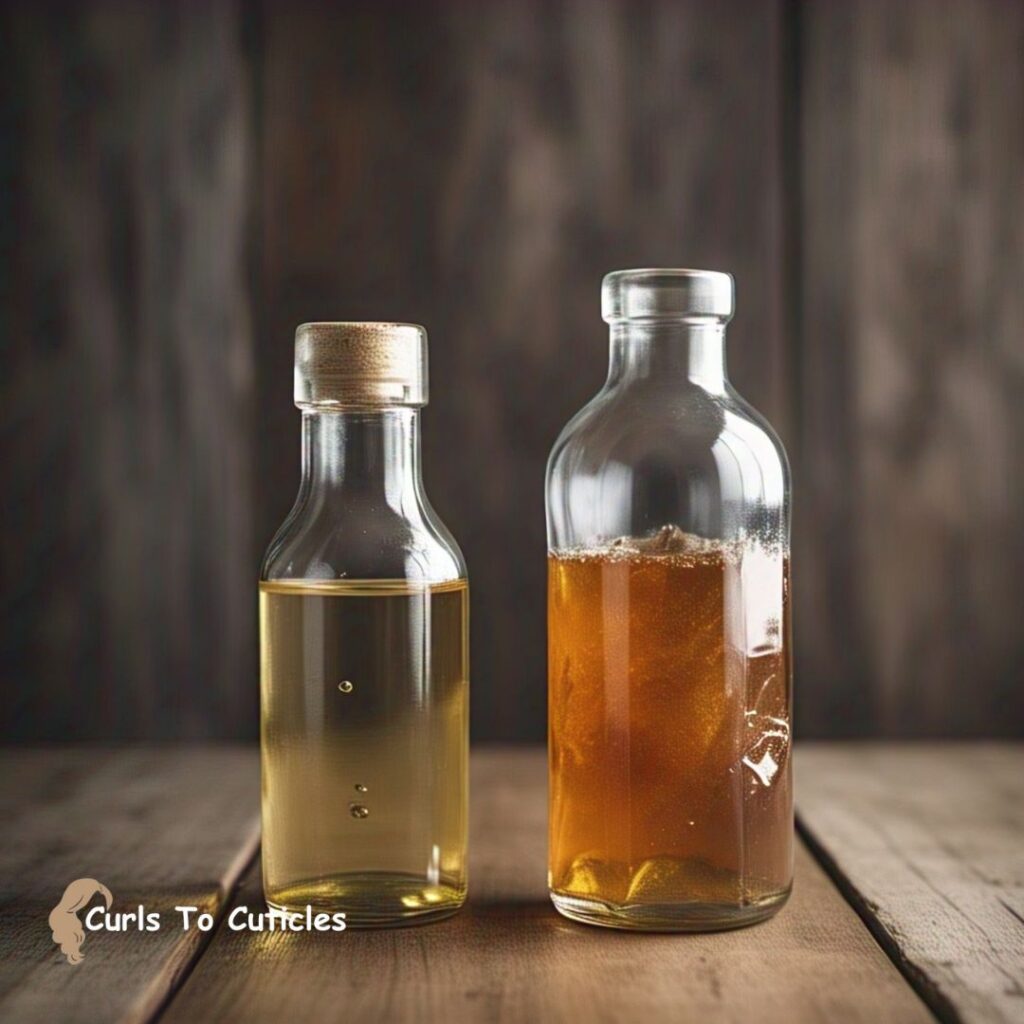
3. Apple Cider Vinegar Soak
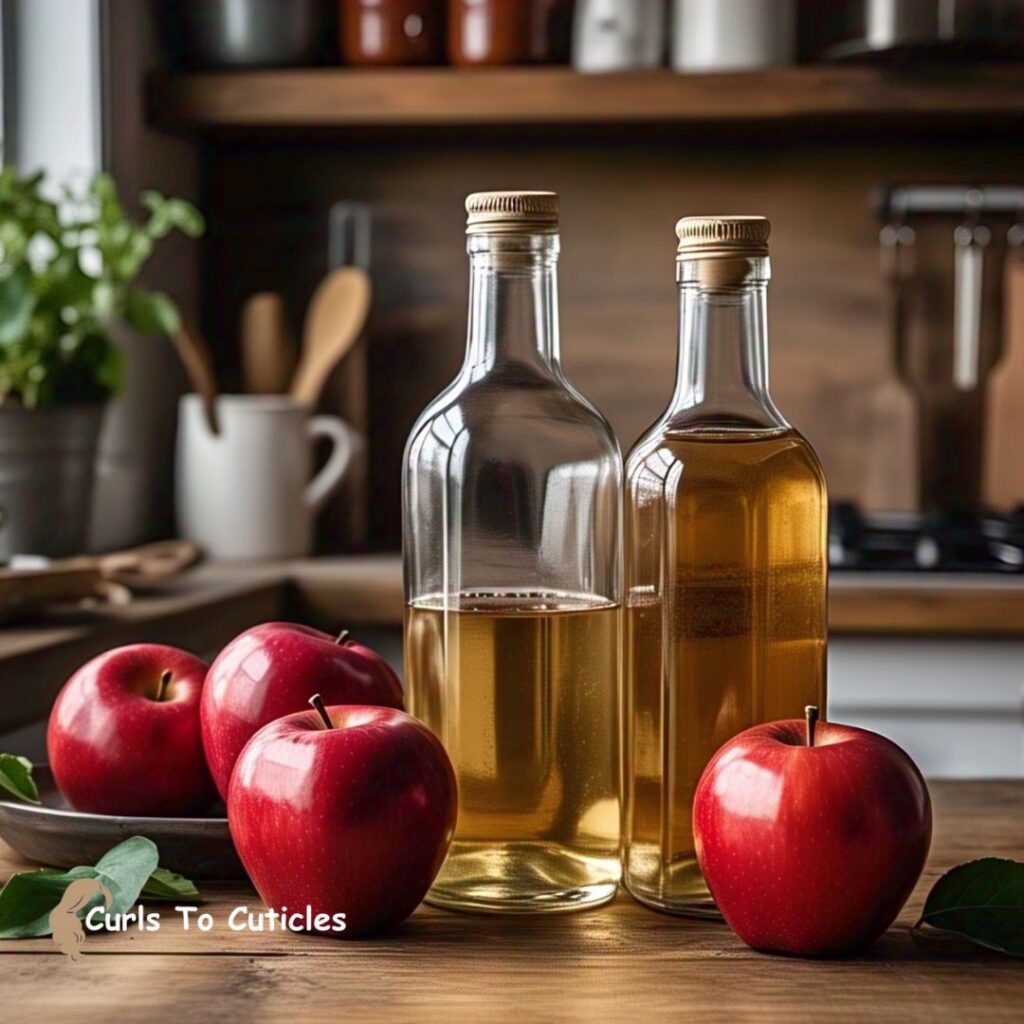
Why I Use It:
This soak helps when my nails feel weak, peel easily, or show discoloration. Apple cider vinegar contains acetic acid, which has natural antifungal and antibacterial effects. It keeps the nail area clean and helps prevent infections.
It also balances the pH of my skin and nails. That reduces flaking and peeling. ACV helps strengthen the nail structure and improves the bond between nail layers.
If I’ve been using nail polish often or feel like my nails need a reset, this soak works well. It gives the nails a fresh start and removes buildup.
Ingredients:
- 1 part apple cider vinegar
- 1 part water
I use raw, unfiltered ACV with “the mother” because it has more nutrients and enzymes. I use room temperature or slightly warm water for comfort.
How I Use It:
I mix equal parts ACV and water in a small bowl—usually about ½ cup of each. I stir the solution gently and place my fingertips inside.
I soak my nails for 10 minutes. During the soak, I keep my hands relaxed and avoid moving too much to let the liquid work into the nail bed.
After soaking, I rinse my hands with warm water and dry them with a towel. Then I apply a hand cream or oil to keep my nails moisturized.
I use this soak once or twice a week, depending on how my nails look. It keeps my nails clear, firm, and less prone to cracking or infection.
4. Green Tea and Vitamin E Soak

Why I Use It:
I use this soak to help my nails recover from damage and boost growth. Green tea is packed with antioxidants that protect nail cells from everyday stress. It calms irritation and supports healthy skin around the nails.
Vitamin E helps restore weak or peeling nails. It improves blood flow and helps new nail cells grow faster and stronger. It also softens dry cuticles and adds shine to dull nails.
When I combine these two, I get a natural, gentle soak that supports healing and keeps my nails looking fresh. I turn to this soak after I’ve removed polish or spent time in harsh weather.
Ingredients:
- 1 cup of cooled green tea
- 1 capsule of vitamin E oil
I prefer using loose leaf green tea or a high-quality tea bag with no added flavors. I use natural vitamin E capsules for better results.
How I Use It:
I brew a fresh cup of green tea and let it steep for about 5 minutes. Then I leave it to cool until it’s just warm, not hot. I take a vitamin E capsule, pierce it with a pin or scissors, and squeeze the oil into the cooled tea.
I stir the mixture gently and soak my fingertips for about 15 minutes. During the soak, I keep my hands still so the nutrients can work on the nails and skin.
After the soak, I pat my hands dry and let the vitamin E stay on my skin. I don’t rinse it off right away because it helps keep the area soft and hydrated.
I usually use this soak once or twice a week, especially when I feel like my nails need extra support after trimming or cleaning.
5. Sea Salt and Baking Soda Soak
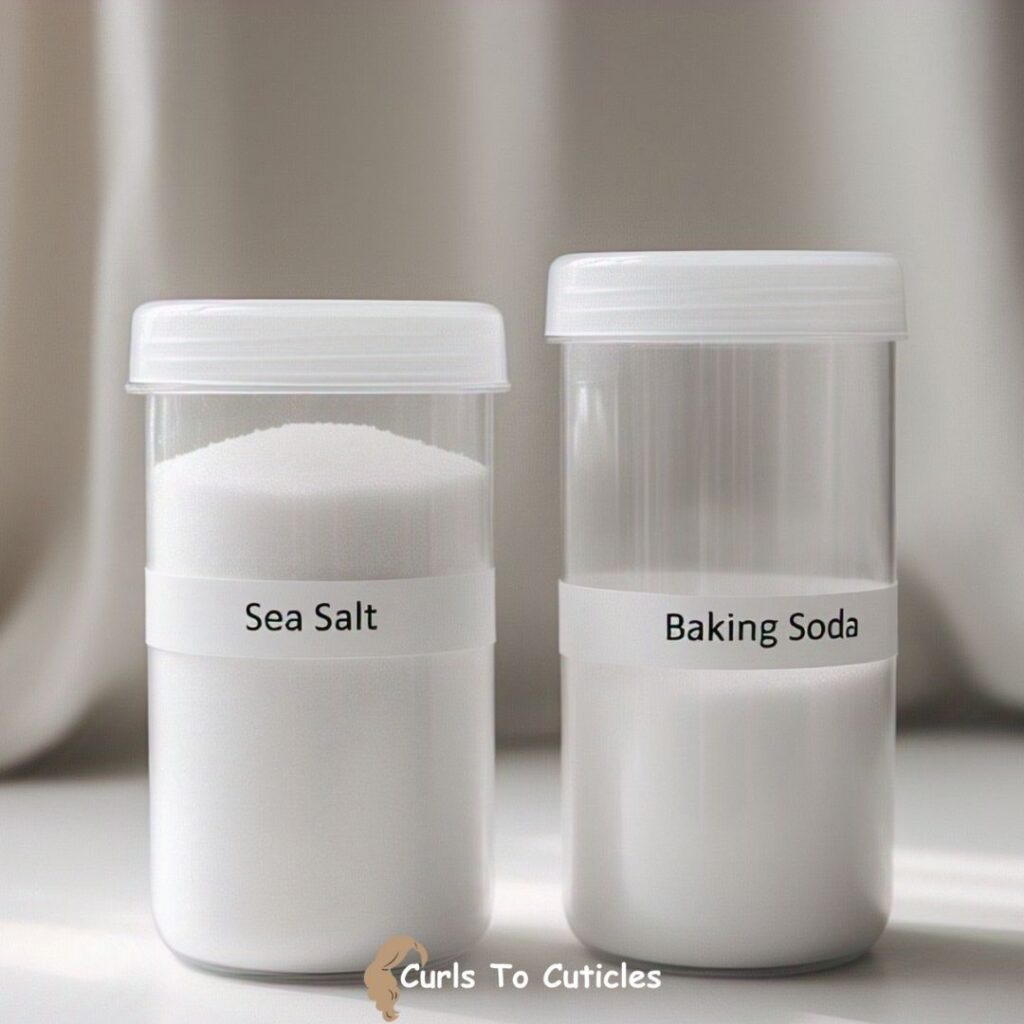
Why I Use It:
This soak helps when my nails feel rough or have product buildup. Sea salt is rich in natural minerals like magnesium and calcium. These minerals help restore strength and make nails less likely to bend or split.
Baking soda acts as a gentle exfoliant. It softens thick cuticles and helps remove dirt or polish stains. It also helps balance pH, which supports a healthy nail surface.
This soak leaves my nails smoother, cleaner, and stronger. I like to use it when my nails look dull or if I want to prep them for a manicure.
Ingredients:
- 1 tablespoon of sea salt
- 1 tablespoon of baking soda
- 1 cup of warm water
I use fine sea salt so it dissolves faster. I always make sure the water is warm, not hot, to avoid drying out my skin.
How I Use It:
I pour warm water into a small bowl. Then I add the sea salt and baking soda. I stir until both ingredients fully dissolve.
I soak my fingertips for about 10 minutes. I sometimes move my fingers gently in the water to help loosen any debris or dead skin.
After soaking, I rinse my hands with cool water and apply a moisturizer or cuticle oil. This keeps the nails from drying out after the soak.
I use this soak once a week, especially if I’ve been using nail polish often or if my nails feel rough to the touch.
6. Milk and Egg Yolk Soak
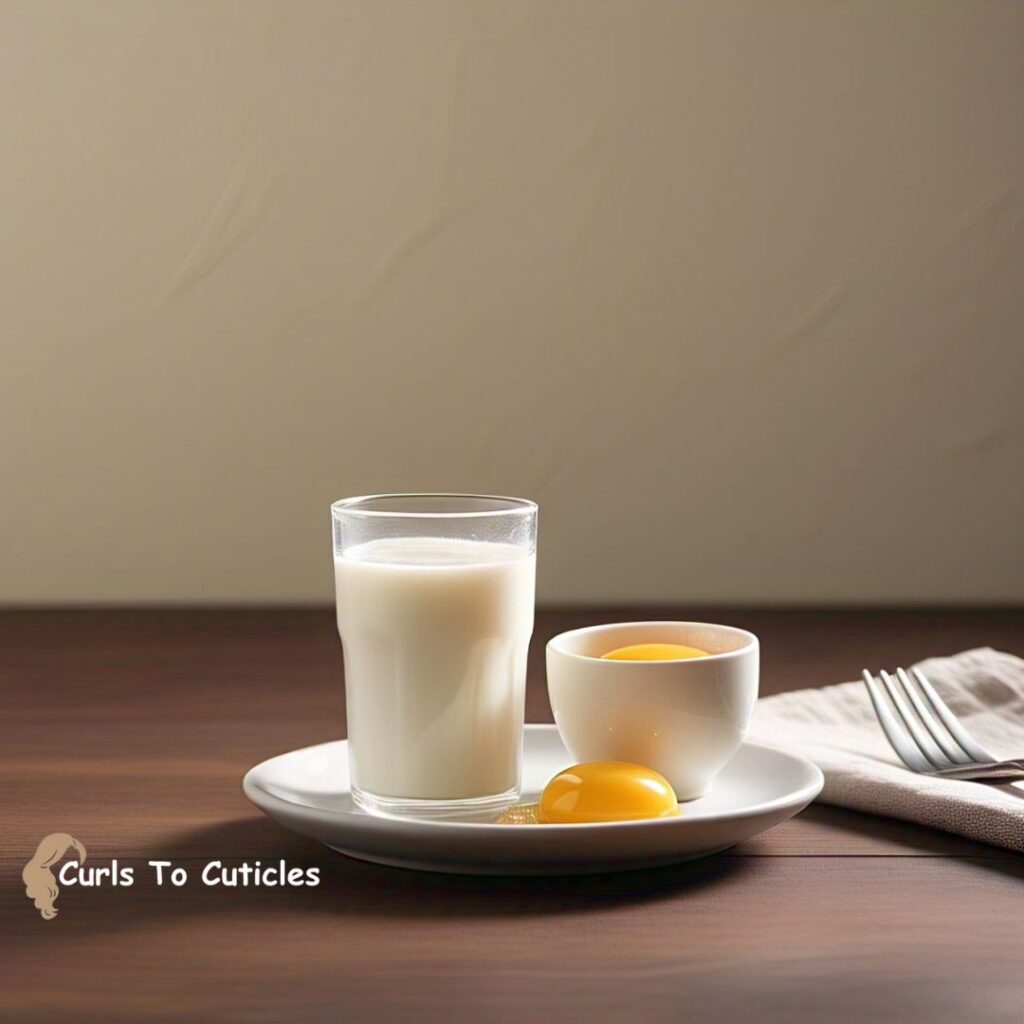
Why I Use It:
I use this soak when I want to strengthen my nails naturally. Milk is full of calcium and protein, which help harden soft nails. It also softens the skin around the nails and adds a bit of moisture.
Egg yolk is rich in biotin, a key nutrient for nail growth and strength. It helps prevent breakage and makes the nails feel thicker.
This soak gives my nails a protein boost. I notice my nails look healthier and grow faster after using it regularly.
Ingredients:
- 2 tablespoons of whole milk
- 1 egg yolk
I use whole milk for the fat content, which adds extra softness. I separate the egg yolk carefully to avoid mixing in egg white.
How I Use It:
I crack an egg and separate the yolk into a small bowl. I whisk the yolk lightly, then add the milk and mix until smooth.
I dip my nails into the mixture and leave them for about 10 minutes. I try not to move my fingers so the mixture stays in place.
After soaking, I rinse my hands with cool water and dry them with a towel. I follow up with hand cream to lock in the benefits.
I do this soak once a week, usually at the end of the day, when I can rest and let my nails recover. Over time, I notice stronger, less brittle nails with better shape.
7. Castor Oil and Garlic Soak
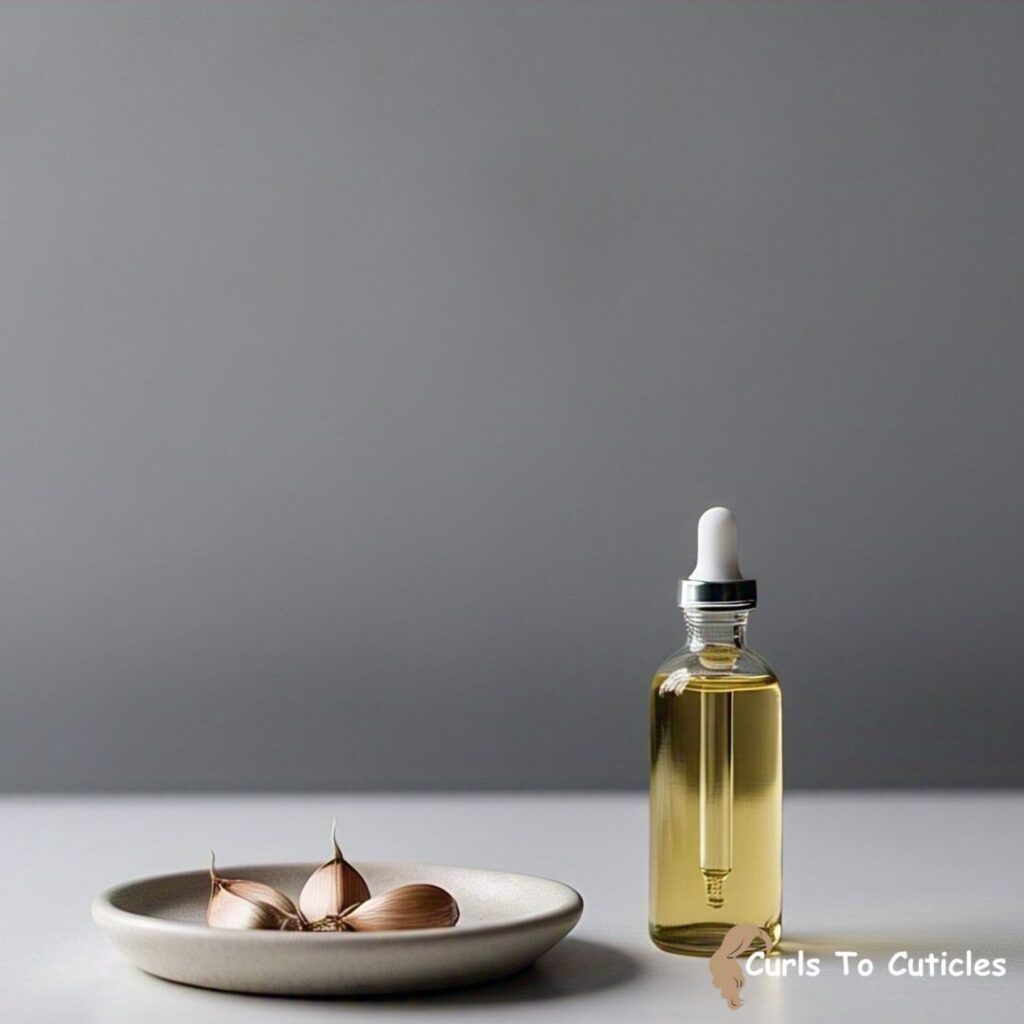
Why I Use It:
I reach for this soak when I want stronger, faster-growing nails. Castor oil is thick and deeply moisturizing. It penetrates the nail bed and nourishes both nails and cuticles. Over time, it helps improve nail texture and thickness.
Garlic might sound unusual, but it’s a powerhouse for nail health. It contains selenium and sulfur, both of which support nail growth. Garlic also boosts blood circulation to the nail matrix—the part of the nail responsible for new growth.
The combination of castor oil and garlic gives my nails a growth spurt while keeping them moisturized and strong.
Ingredients:
- 1 tablespoon of castor oil
- 1 clove of garlic (crushed or finely minced)
I always use fresh garlic because it releases more of its beneficial compounds.
How I Use It:
First, I slightly warm the castor oil in the microwave or on the stovetop (just until it’s warm to the touch). Then I stir in the crushed garlic and let it sit for a couple of minutes so the nutrients infuse into the oil.
I soak my fingertips in the mixture for about 10 minutes. Sometimes I rub the garlic gently around my nails while soaking.
Afterwards, I wash my hands thoroughly with soap and warm water to get rid of the garlic smell. If the scent lingers, I rub lemon juice or a bit of stainless steel soap on my fingers.
I use this soak once or twice a week when I want to boost nail growth or recover from breakage.
8. Cucumber Juice Soak
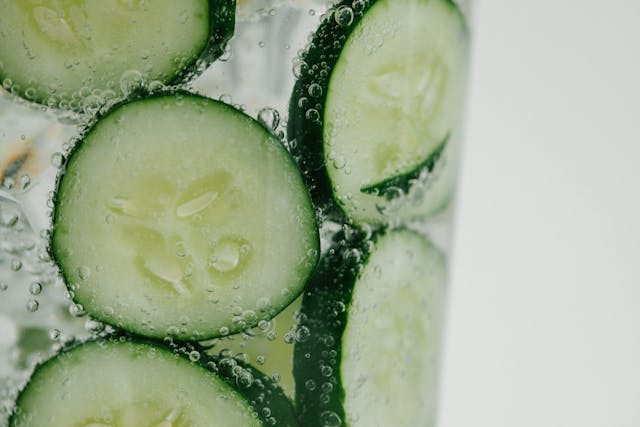
Why I Use It:
This is one of my favorite summer soaks. It’s incredibly refreshing and soothing, especially after I’ve used nail polish removers or been washing my hands a lot.
Cucumber is full of water and vitamins like A and C, which hydrate and repair. It cools irritated skin and helps restore moisture to dry, tired nails.
Aloe vera gel adds an extra layer of moisture and healing. It’s perfect if my cuticles are dry or slightly cracked.
Ingredients:
- ½ cucumber (blended or grated)
- 1 tablespoon of aloe vera gel (optional)
I prefer using fresh cucumber, peeled if the skin is thick. Store-bought aloe vera gel works, but pure aloe from the plant is even better.
How I Use It:
I blend half a cucumber until it’s smooth, then strain it using a cheesecloth or fine sieve to get the juice. I mix in a tablespoon of aloe vera gel to boost hydration.
I pour the juice into a bowl and soak my nails for 15 minutes. The cool liquid feels so calming, especially on a warm day.
After soaking, I let my hands air dry to let the nutrients soak in fully. Then I apply hand cream or a light oil if needed.
This soak is gentle enough to use a few times a week and is especially great after travel or when my hands feel overworked.
9. Chamomile Tea and Olive Oil Soak
Why I Use It:
This soak is my go-to when my nails or cuticles feel irritated, inflamed, or sore. Chamomile tea is calming and has natural anti-inflammatory properties. It soothes the skin and helps reduce any redness or discomfort.
Olive oil, as always, is amazing for deep hydration. It works well with chamomile to nourish dry nails, repair damage, and prevent splitting or peeling.
This combo is perfect for people with sensitive skin or nails that tend to get inflamed from cold weather or chemicals.
Ingredients:
- 1 cup of chamomile tea (cooled)
- 1 tablespoon of olive oil
I use a caffeine-free chamomile tea bag or loose flowers steeped in hot water. After brewing, I let it cool to room temperature before adding oil.
How I Use It:
Once the tea is cool, I mix in the olive oil and stir well. I pour the blend into a small bowl and soak my nails for 10 to 15 minutes.
I often do this soak in the evening, followed by a quick hand massage using the same mixture. It’s a relaxing way to unwind while treating my nails.
I don’t rinse off the soak right away—just pat my hands dry and let the oils absorb. My nails always feel healthier and look smoother after this one.
I use this soak weekly or whenever I need to calm my hands after a rough day.
10. Beer and Olive Oil Soak

Why I Use It:
Yes—beer! It might sound funny, but beer contains proteins, yeast, and vitamins like B-complex that help nourish the nail structure. It adds strength to weak or thin nails and encourages better growth.
Paired with olive oil, this soak becomes even more powerful. The oil locks in moisture while the beer strengthens and revives tired nails.
This is a great soak if I’ve been using a lot of polish and removers or just need a little “nail detox.”
Ingredients:
- ¼ cup of flat beer
- ¼ cup of olive oil
- ¼ cup of apple cider vinegar
I let the beer sit out for a few hours to go flat (no bubbles makes the soak smoother). Apple cider vinegar helps balance pH and adds antifungal benefits.
How I Use It:
I mix all three ingredients in a bowl. The blend smells a little unusual but it works wonders. I soak my nails for 15 minutes, letting the beer proteins and vinegar do their thing.
After soaking, I rinse with lukewarm water and apply hand lotion. The nails feel firmer and have a healthy glow.
I use this soak every other week or when my nails feel soft or flimsy. It’s one of those “secret weapon” treatments I keep in my self-care routine.
Tips I Follow Before and After Nail Soaks
1. Clean Nails First:
Before soaking, I always make sure my nails are clean and free of polish, dirt, or lotion. This helps the soak ingredients absorb better and reach the nail surface directly. I use a gentle nail polish remover if needed and wash my hands with mild soap.
2. Use Warm Ingredients:
I slightly warm oils or liquids before using them. Warmth helps open up the skin and nail pores, allowing nutrients to go deeper. I test the temperature first to make sure it’s not too hot—just comfortably warm to the touch.
3. Moisturize After Soaking:
After I finish the soak and pat my hands dry, I apply a rich hand cream or cuticle oil. This seals in the moisture and keeps my nails from drying out. Massaging the cream in also boosts blood flow, which can help nail growth.
4. Stay Consistent:
Doing a nail soak once won’t fix weak nails. I stick to a regular schedule—at least once or twice a week. Over time, I notice my nails getting stronger, smoother, and healthier.
Nail Care Habits That Help Me
While soaks make a difference, I also stick to small daily habits that protect and strengthen my nails.
1. I avoid biting or peeling my nails.
I never bite my nails or peel off the edges. Doing that causes breakage and weakens the nail tips. By keeping my hands busy or using a bitter-tasting polish, I avoid this habit and help my nails grow stronger.
2. I wear gloves while cleaning.
When I clean or wash dishes, I always wear gloves. Cleaning products and constant contact with water dry out my nails and make them weak. Gloves act as a simple barrier and help my hands stay protected.
3. I trim my nails regularly.
I keep my nails trimmed and shaped every few weeks. This keeps them neat and helps prevent accidental tears or snags. Short nails are also easier to manage and less likely to split.
4. I file gently in one direction.
Instead of sawing back and forth, I file my nails in one direction using a soft nail file. This reduces the risk of splitting and keeps the nail edge smooth and strong. Filing the right way helps maintain the nail shape without causing damage.
Download Below Infographic for Future Use

Final Thoughts
I love using natural nail soaks because they are simple, safe, and effective. Each recipe takes less than 20 minutes, and the ingredients are usually in my kitchen. These soaks have helped me grow stronger, smoother nails over time.
If you want to improve your nail health without chemicals, try any of these DIY soaks. Start with the one that matches your need—whether it’s dryness, breakage, or slow growth. With regular use, you’ll see the difference in your nails just like I did.

Hi, I’m Mia Sophia, a 31-year-old hair and nail care enthusiast from a small town in Tennessee. I love testing products, creating simple DIY treatments, and sharing what works through my blog. Everything I post is based on real experience and a love for everyday self-care. Whether it’s finding the right shampoo or growing stronger nails, I keep it easy, honest, and helpful.
Related Posts


Previous Post
Next Post

Hey, y’all! I’m Sophia!
A 31-year-old hair and nail care enthusiast from a small town in Tennessee. I love testing products, creating simple DIY treatments, and sharing what works through my blog. Everything I post is based on real experience and a love for everyday self-care. Whether it’s finding the right shampoo or growing stronger nails, I keep it easy, honest, and helpful.. Learn more