Now Reading: How to Do a Salon-Quality Manicure at Home? (Step-by-Step)
-
01
How to Do a Salon-Quality Manicure at Home? (Step-by-Step)
Let’s be honest—there’s nothing quite like the feeling of freshly manicured nails. Whether you go bold with colors or love a clean, classic nude, a great manicure just makes you feel put together. But weekly or bi-weekly salon visits? That can take a toll on both your wallet and schedule.
The good news? You don’t need to book an appointment every time you want flawless nails. With a little know-how and the right tools, you can create a salon-quality manicure at home that looks just as polished and professional. And yes—this guide will walk you through each step, including expert tips, mistakes to avoid, and how to make your mani last longer.
So grab your polish, light a candle, and get ready for the ultimate at-home pamper session. Here’s your step-by-step guide to a salon-level manicure at home.

Why Choose an At-Home Manicure?
Before we dive into the how-to, let’s talk about the why.
1. Saves Time and Money
Salon manicures can cost anywhere from $25 to $75 depending on where you go and what kind of polish you choose. Doing it yourself? Just the cost of your tools and a bottle of polish—most of which are reusable.
2. Customizable to Your Style
Want to mix colors, add designs, or change it up weekly? You can experiment freely at home without judgment or price tags.
3. Relaxing Self-Care Ritual
An at-home manicure can be part of your weekly self-care routine. No rush, no waiting—just you time.
What You’ll Need for a Salon-Quality Manicure
Here’s your full checklist of manicure essentials. Having everything ready before you begin makes the process smooth and stress-free:
Tools:
- Nail polish remover (non-acetone preferred for natural nails)
- Cotton balls or pads
- Nail clippers
- Nail file (glass or emery board)
- Nail buffer
- Cuticle pusher (wooden or metal)
- Cuticle trimmer (optional)
- Hand or cuticle scrub (optional)
- Small bowl for soaking
- Towels or paper towels
Products:
- Cuticle oil
- Hand cream or moisturizer
- Base coat
- Nail polish (color of your choice)
- Top coat
- Quick-dry drops or spray (optional)
Step-by-Step: How to Do a Perfect Manicure at Home
Step 1: Remove Old Nail Polish
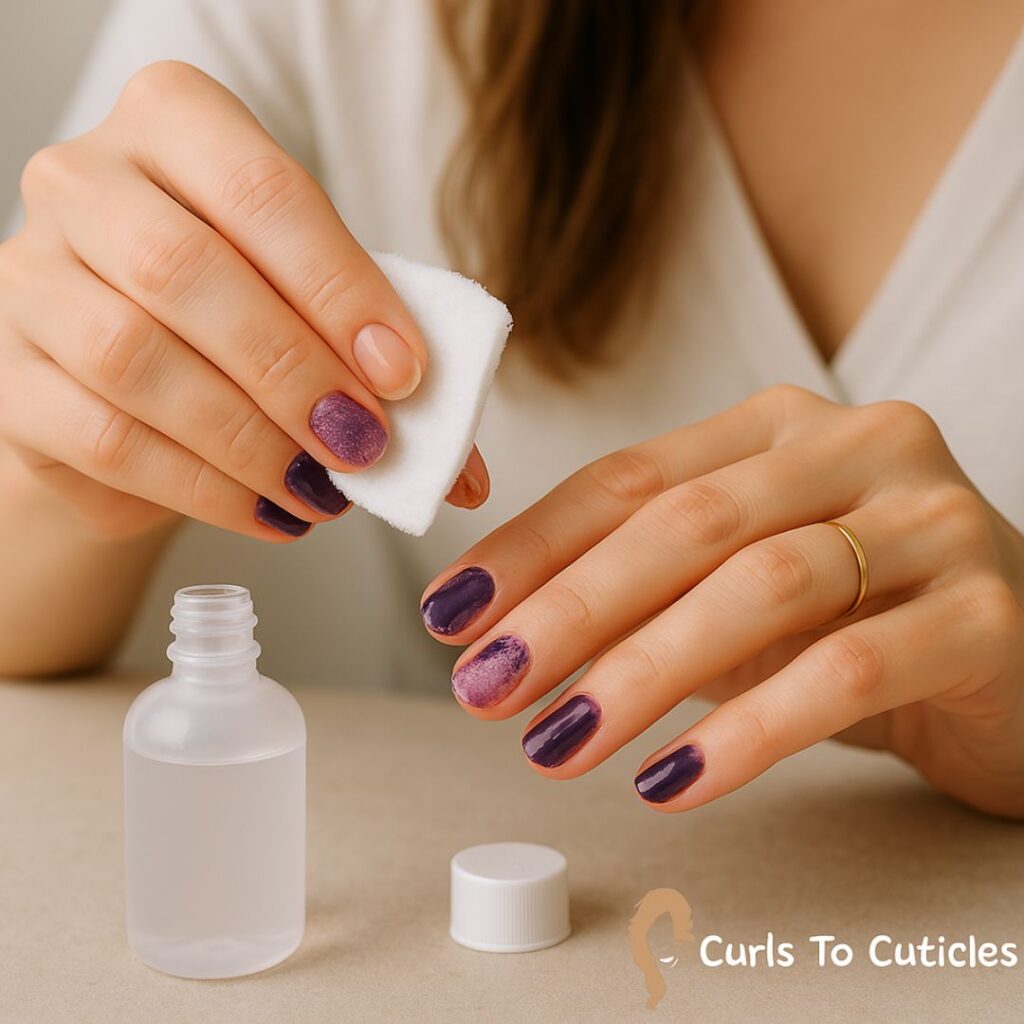
Start with a clean slate. Use a non-acetone remover (gentler on nails) and wipe away any old polish. Press the cotton onto the nail for a few seconds before wiping to avoid scrubbing.
Pro Tip: If you’ve been wearing dark polish and your nails are stained, gently buff the surface or soak them in lemon juice mixed with baking soda to brighten them up.
Step 2: Shape Your Nails
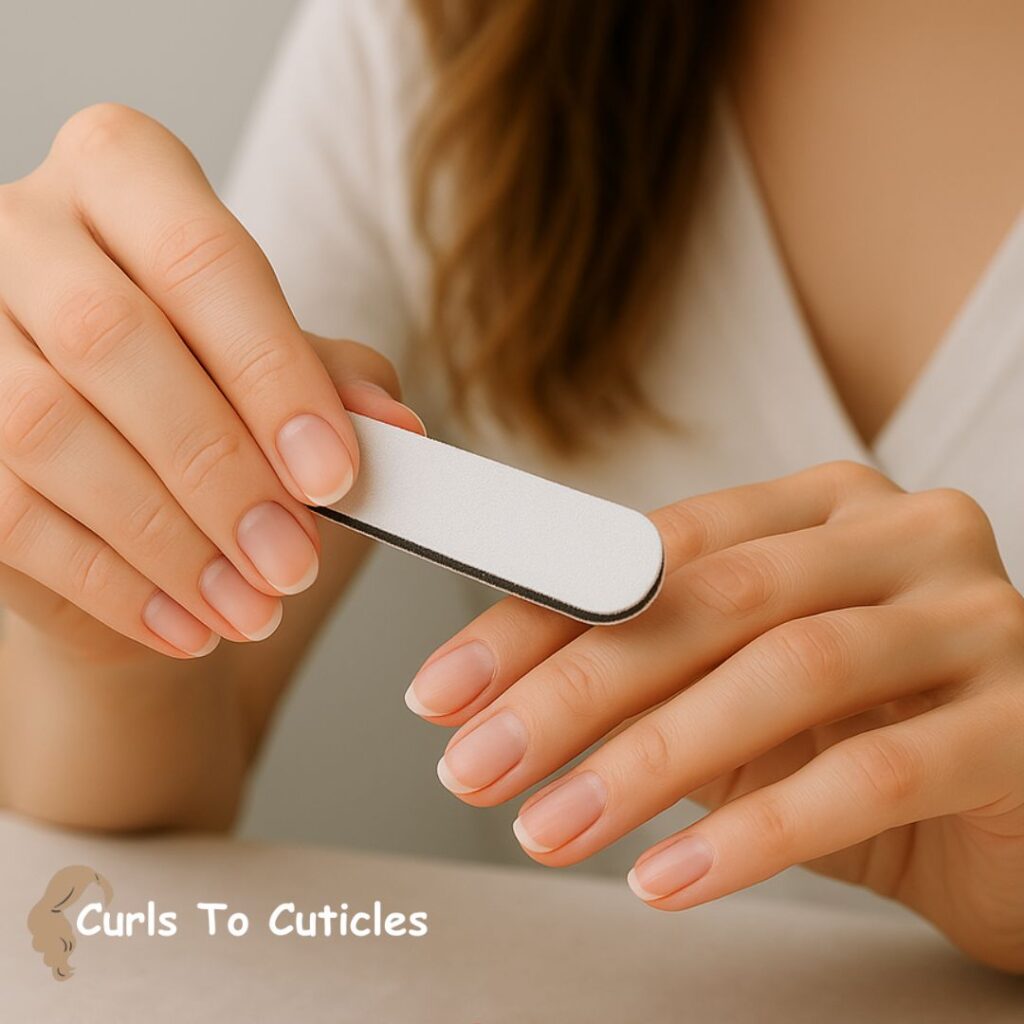
Using clippers, trim your nails to your desired length. Then, use a nail file to shape them. The most popular shapes are:
- Round: Soft and classic
- Oval: Elegant and elongating
- Square: Bold and modern
- Squoval: A square-oval hybrid (salon favorite)
- Almond or Stiletto: More advanced but super trendy
Always file in one direction to prevent splitting and breakage.
Pro Tip: A glass file is gentler and lasts longer than traditional emery boards.
Step 3: Soak and Soften
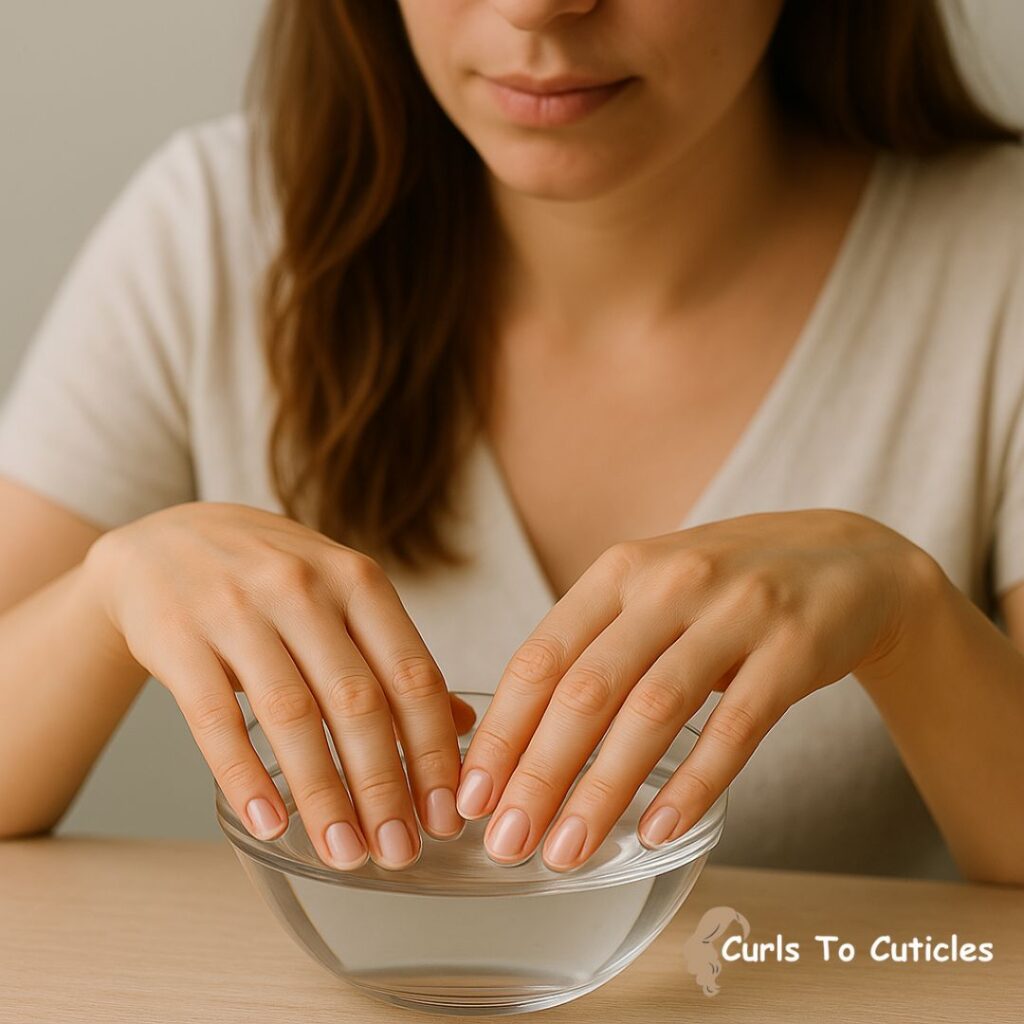
Soaking softens the cuticles and preps them for trimming or pushing back.
- Fill a small bowl with warm water and a splash of gentle soap or a few drops of essential oil.
- Soak your hands for 5–10 minutes.
- Gently pat dry with a towel.
Optional: Add a tablespoon of sugar or salt to the water for an exfoliating touch.
Step 4: Push Back Cuticles
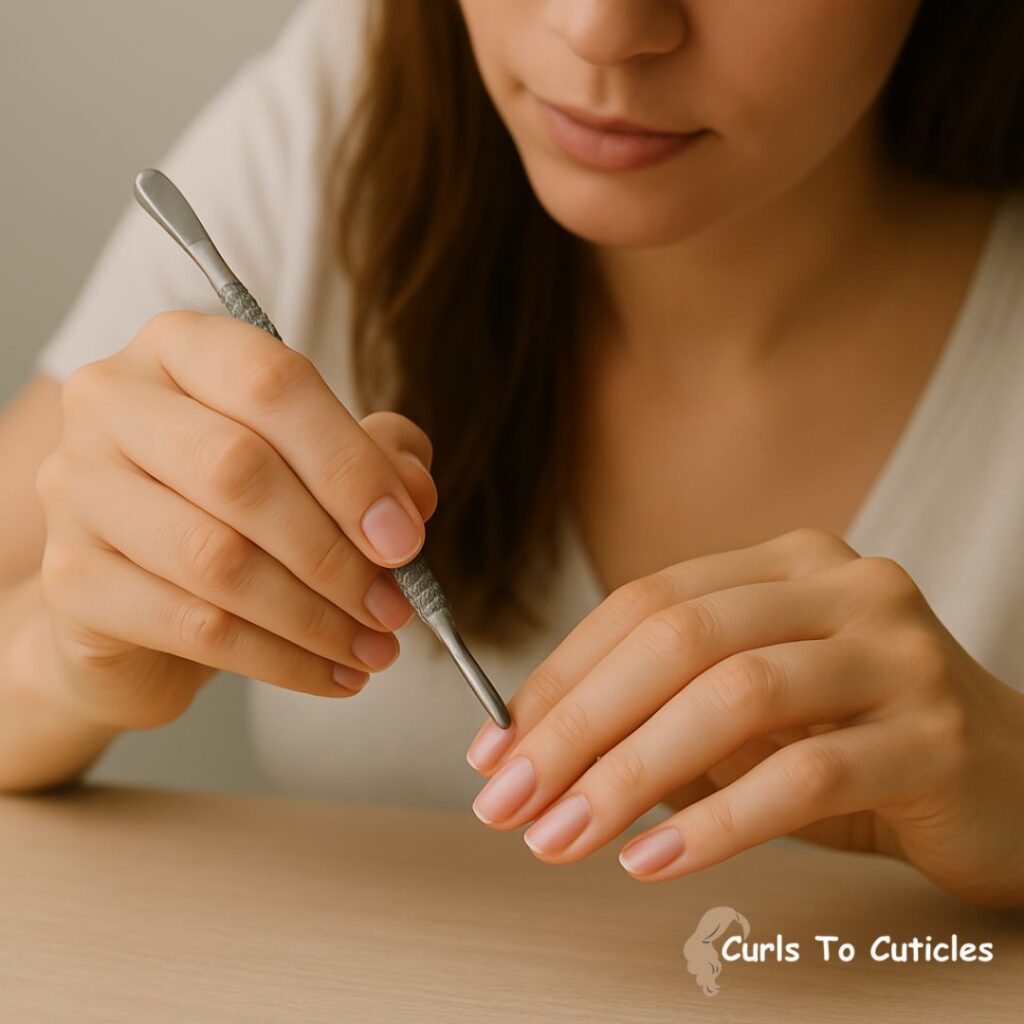
Apply a drop of cuticle oil or cream to each nail and gently push back cuticles with a cuticle pusher. You can use a wooden stick or a metal pusher—just be gentle.
If needed, trim only excess or ragged skin, not the entire cuticle. Over-trimming can lead to infections.
Pro Tip: Never cut live cuticle tissue—it’s there to protect the nail bed from bacteria.
Step 5: Buff the Surface
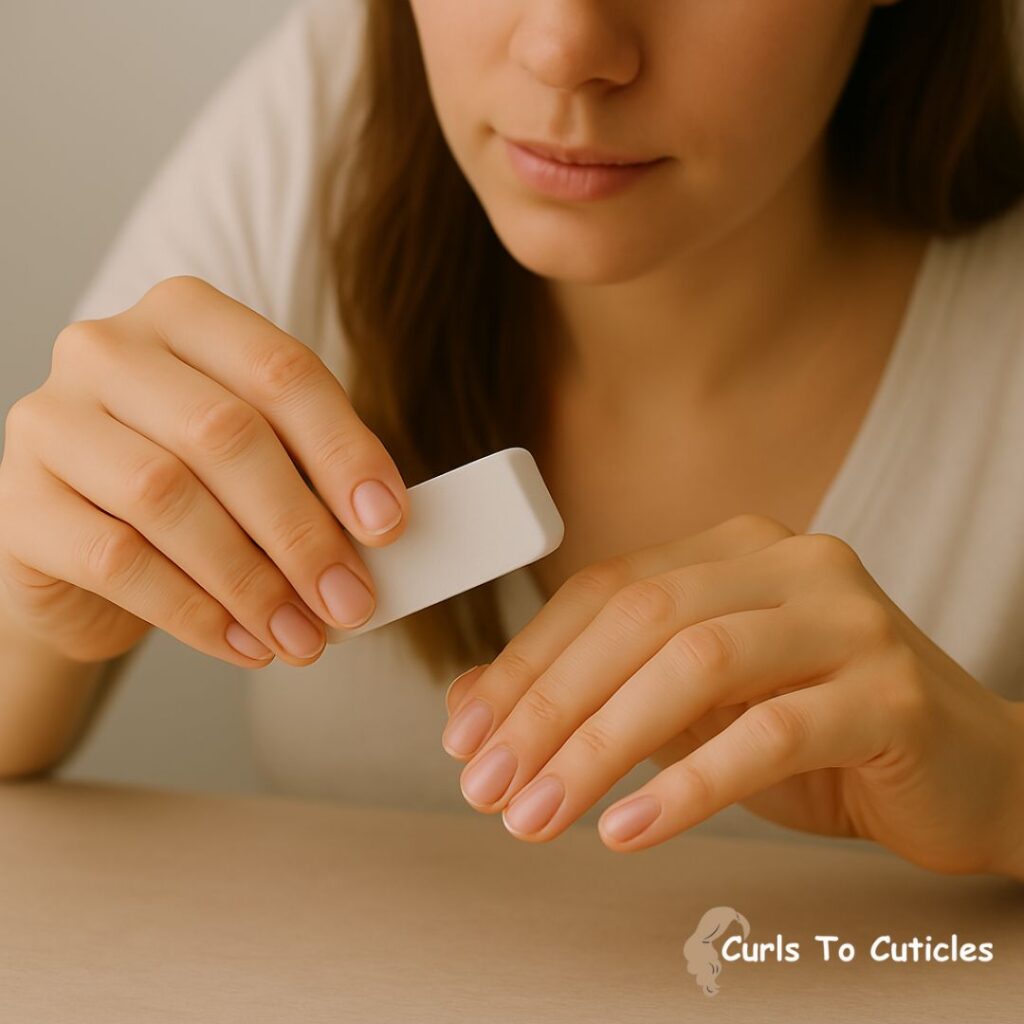
Using a nail buffer, gently smooth the surface of your nails. This helps get rid of ridges and provides a clean base for polish to adhere to.
Only buff lightly—too much can thin your nails.
Step 6: Clean and Prep Again

After all that handling, you’ll want to remove any residue:
- Wipe nails with polish remover or rubbing alcohol on a cotton pad.
- This removes oil and ensures your polish sticks better.
Pro Tip: Avoid touching your face or hair after cleaning your nails—it transfers oils and affects polish adhesion.
Step 7: Apply Base Coat
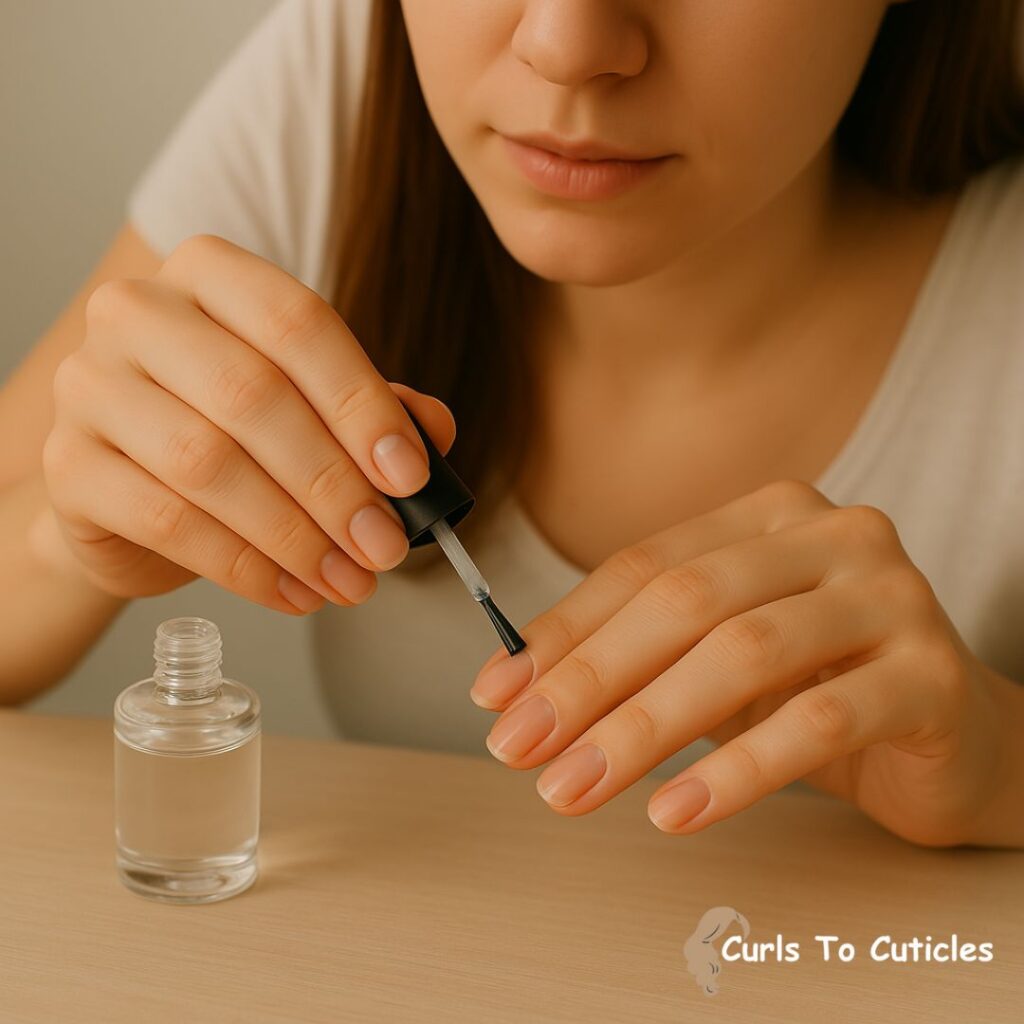
Always start with a base coat. It:
- Prevents staining
- Helps polish go on smoother
- Increases wear time
Apply a thin, even layer and let it dry for 1–2 minutes.
Bonus: You can use a ridge-filling base coat if you want a smoother nail surface.
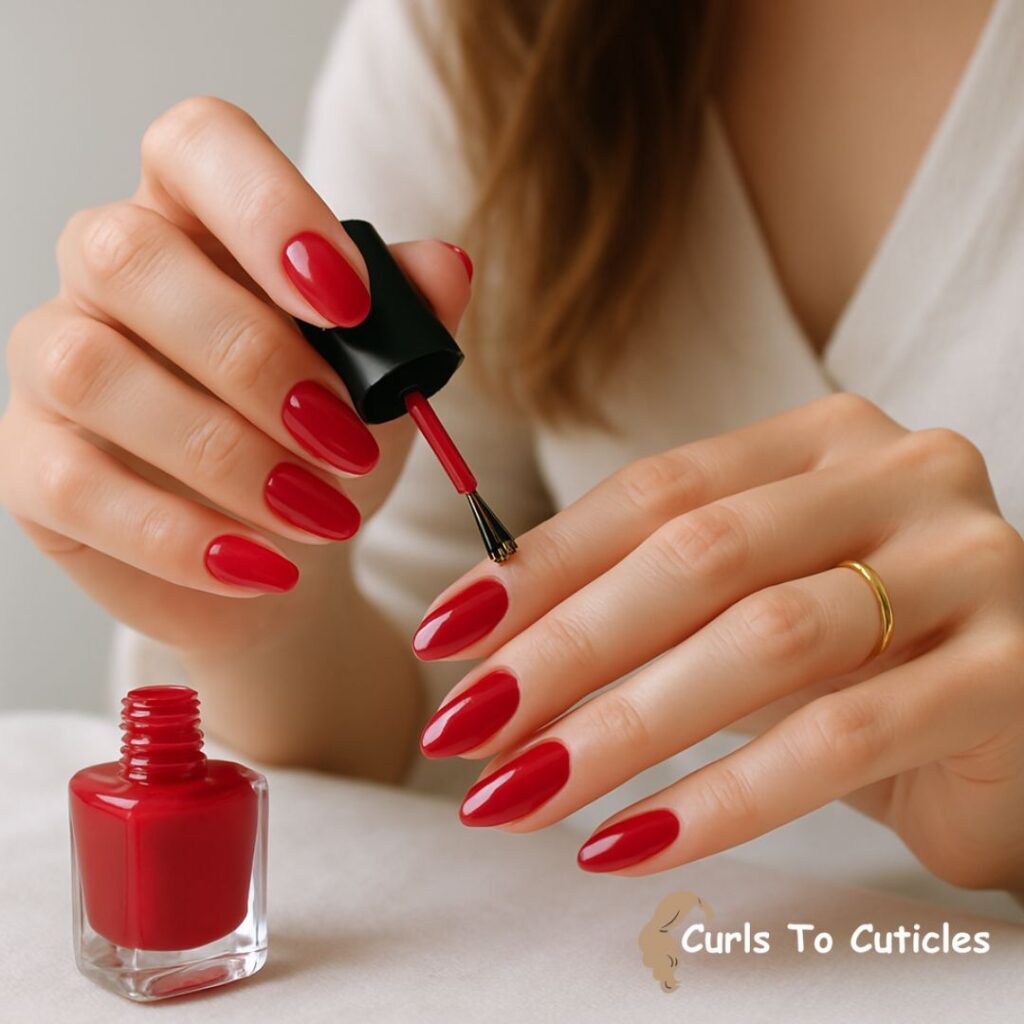
Step 8: Apply Nail Polish (2 Coats)
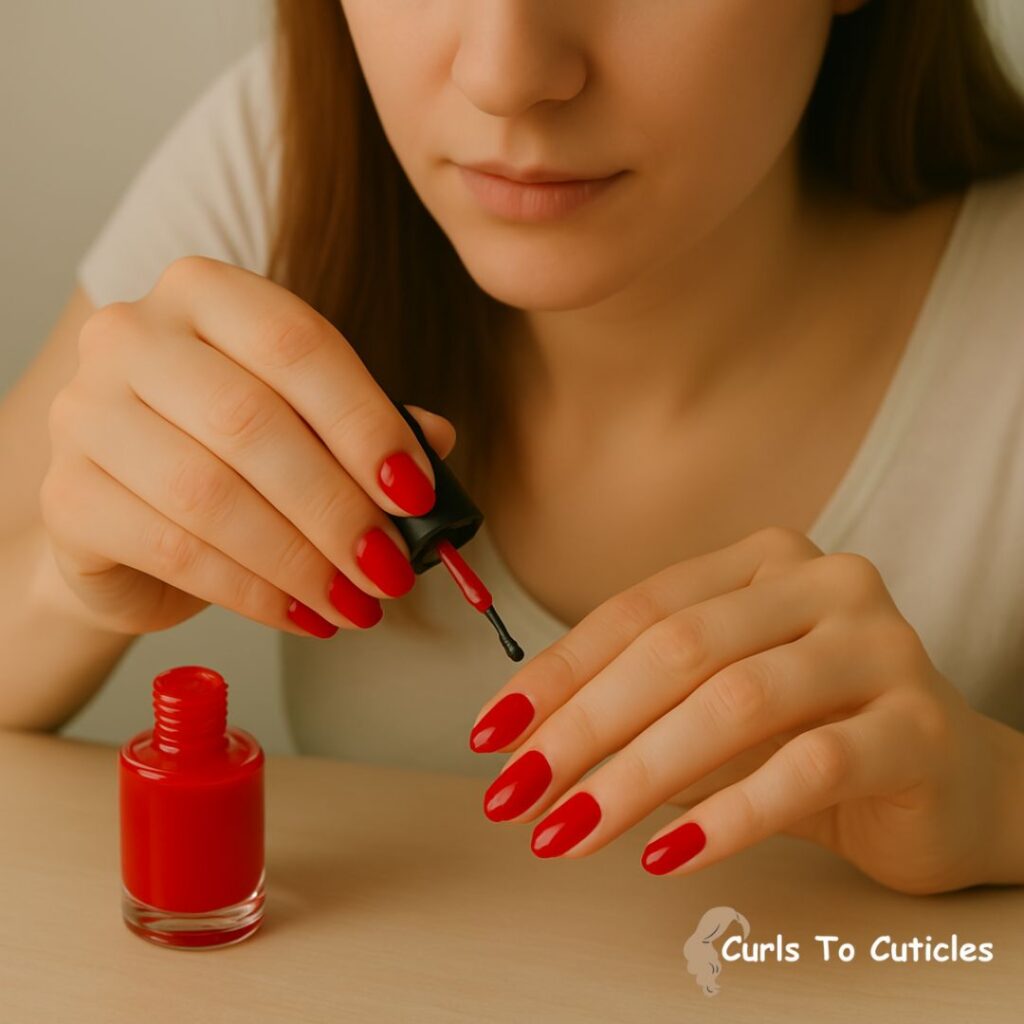
Now the fun part—color! Apply polish in three strokes: one in the center, then one on each side. This helps keep things even.
Tips for success:
- Keep layers thin
- Let each coat dry for 2–5 minutes before applying the next
- Clean up mistakes with a small brush dipped in remover
Pro Tip: Wrap the polish around the edge of your nail (free edge) to help prevent chipping.
Step 9: Apply a Top Coat
Seal in your color with a top coat. This adds:
- Shine
- Protection
- Longevity
You can choose from glossy, matte, or gel-like finishes depending on your style. Don’t skip this step—top coat is the secret weapon of long-lasting manicures.
Step 10: Dry Properly
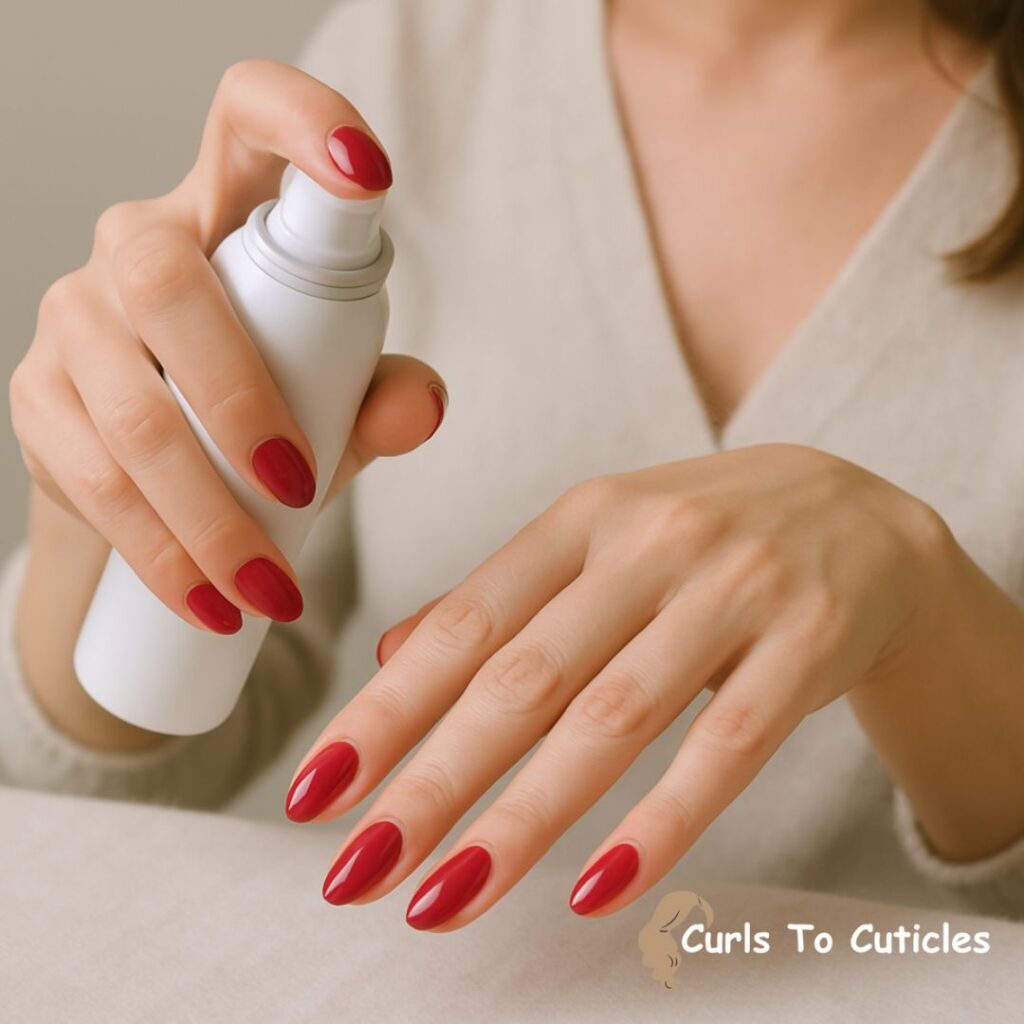
Let your nails dry fully. Even if they feel dry to the touch, they can still smudge.
Drying tips:
- Use quick-dry drops or spray
- Avoid fans—they cause bubbling
- Wait at least 15–20 minutes before doing anything with your hands
Pro Tip: Dunking your nails in ice-cold water for a minute can help speed up drying.
Step 11: Moisturize and Maintain
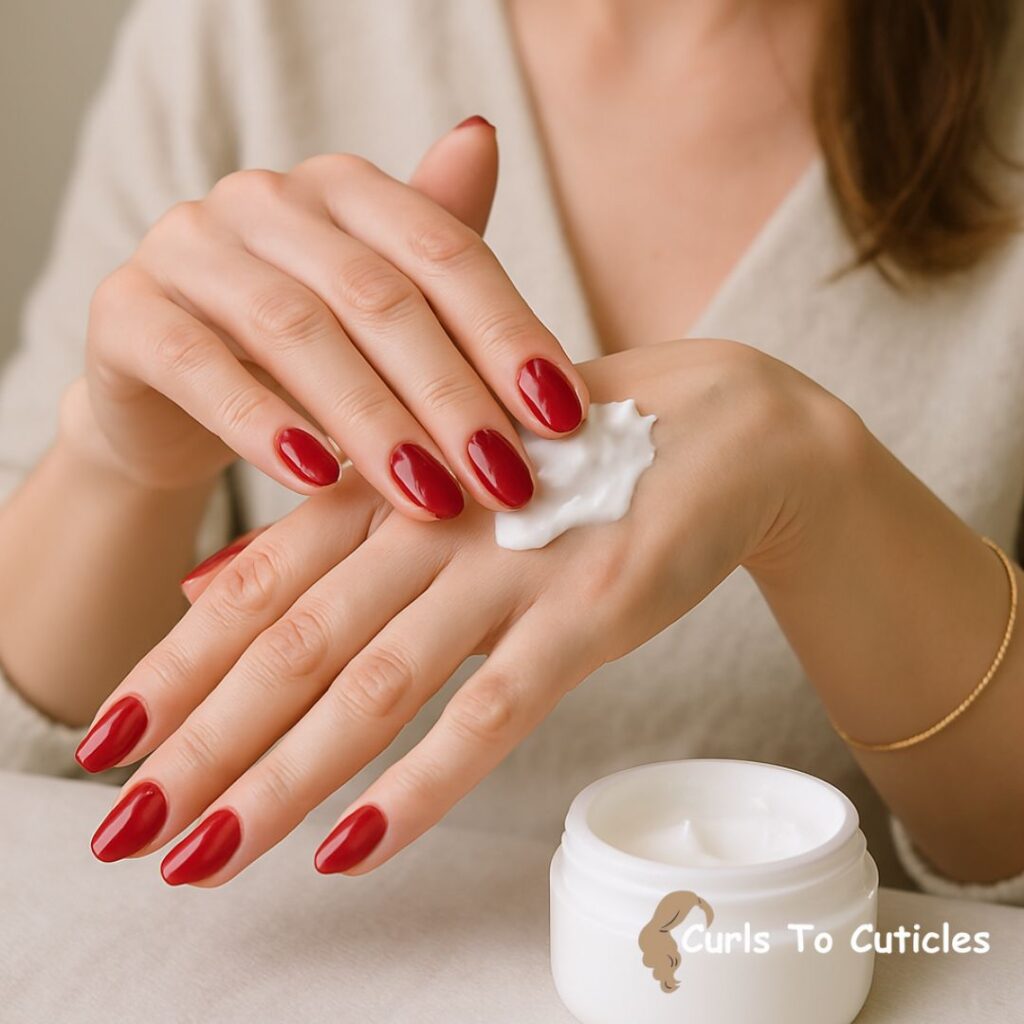
Once your nails are dry, massage in your favorite hand cream and cuticle oil. Hydrated cuticles keep your mani looking fresh.
Reapply cuticle oil daily—it helps prevent chipping by keeping the nail bed flexible and nourished.
Bonus: Make Your Manicure Last Longer
Want your at-home manicure to go the distance? Here are a few tried-and-true tips:
- Wear gloves when doing dishes or cleaning
- Avoid hot water for long periods
- Reapply top coat every 2–3 days
- Don’t use nails as tools—no prying, scratching, or peeling
- Keep cuticles hydrated with daily oil
Mistakes to Avoid
Even with the best intentions, some habits can sabotage your manicure. Avoid these common mistakes:
- Skipping base coat – leads to stains and chips
- Thick polish layers – they smudge easier
- Skipping cuticle care – dry cuticles = ragged edges
- Filing after soaking – soft nails split more easily
- Using old or thick polish – results in uneven texture
Customize Your Mani Like a Pro
Want to add some personality to your at-home manicure? Try these creative touches:
🌈 Nail Art Ideas:
- French tips with a twist (try neon!)
- Polka dots with a toothpick or dotting tool
- Accent nails in glitter or metallic polish
- Ombré using a sponge
- Stickers, gems, or decals for instant glam
💅 Trending Styles:
- Milky nails
- Chrome finishes
- Pastel color blocking
- Minimalist nail art (tiny hearts, stars, or moons)
Final Thoughts
Doing your own manicure at home doesn’t have to feel like a downgrade. With the right technique and a little practice, you can absolutely achieve salon-quality nails from the comfort of your home—no appointment necessary.
It’s about more than just pretty nails—it’s self-care, a creative outlet, and a way to reconnect with yourself. Whether you’re unwinding after a long week or prepping for a night out, your hands deserve a little love.
Now it’s your turn:
Try the full step-by-step routine above and see how satisfying a DIY manicure can be. Want to upgrade your setup? Invest in a few pro tools like a UV lamp, gel polishes, or nail art brushes for even more polish-perfection at home.
Would you like a printable checklist, infographic guide, or product recommendations to go with this? Just say the word!
Previous Post
Next Post


Hey, y’all! I’m Sophia!
A 31-year-old hair and nail care enthusiast from a small town in Tennessee. I love testing products, creating simple DIY treatments, and sharing what works through my blog. Everything I post is based on real experience and a love for everyday self-care. Whether it’s finding the right shampoo or growing stronger nails, I keep it easy, honest, and helpful.. Learn more